Learn how to make classic lacto-fermented sauerkraut with just cabbage and salt. This easy probiotic recipe is packed with flavor and supports gut health.
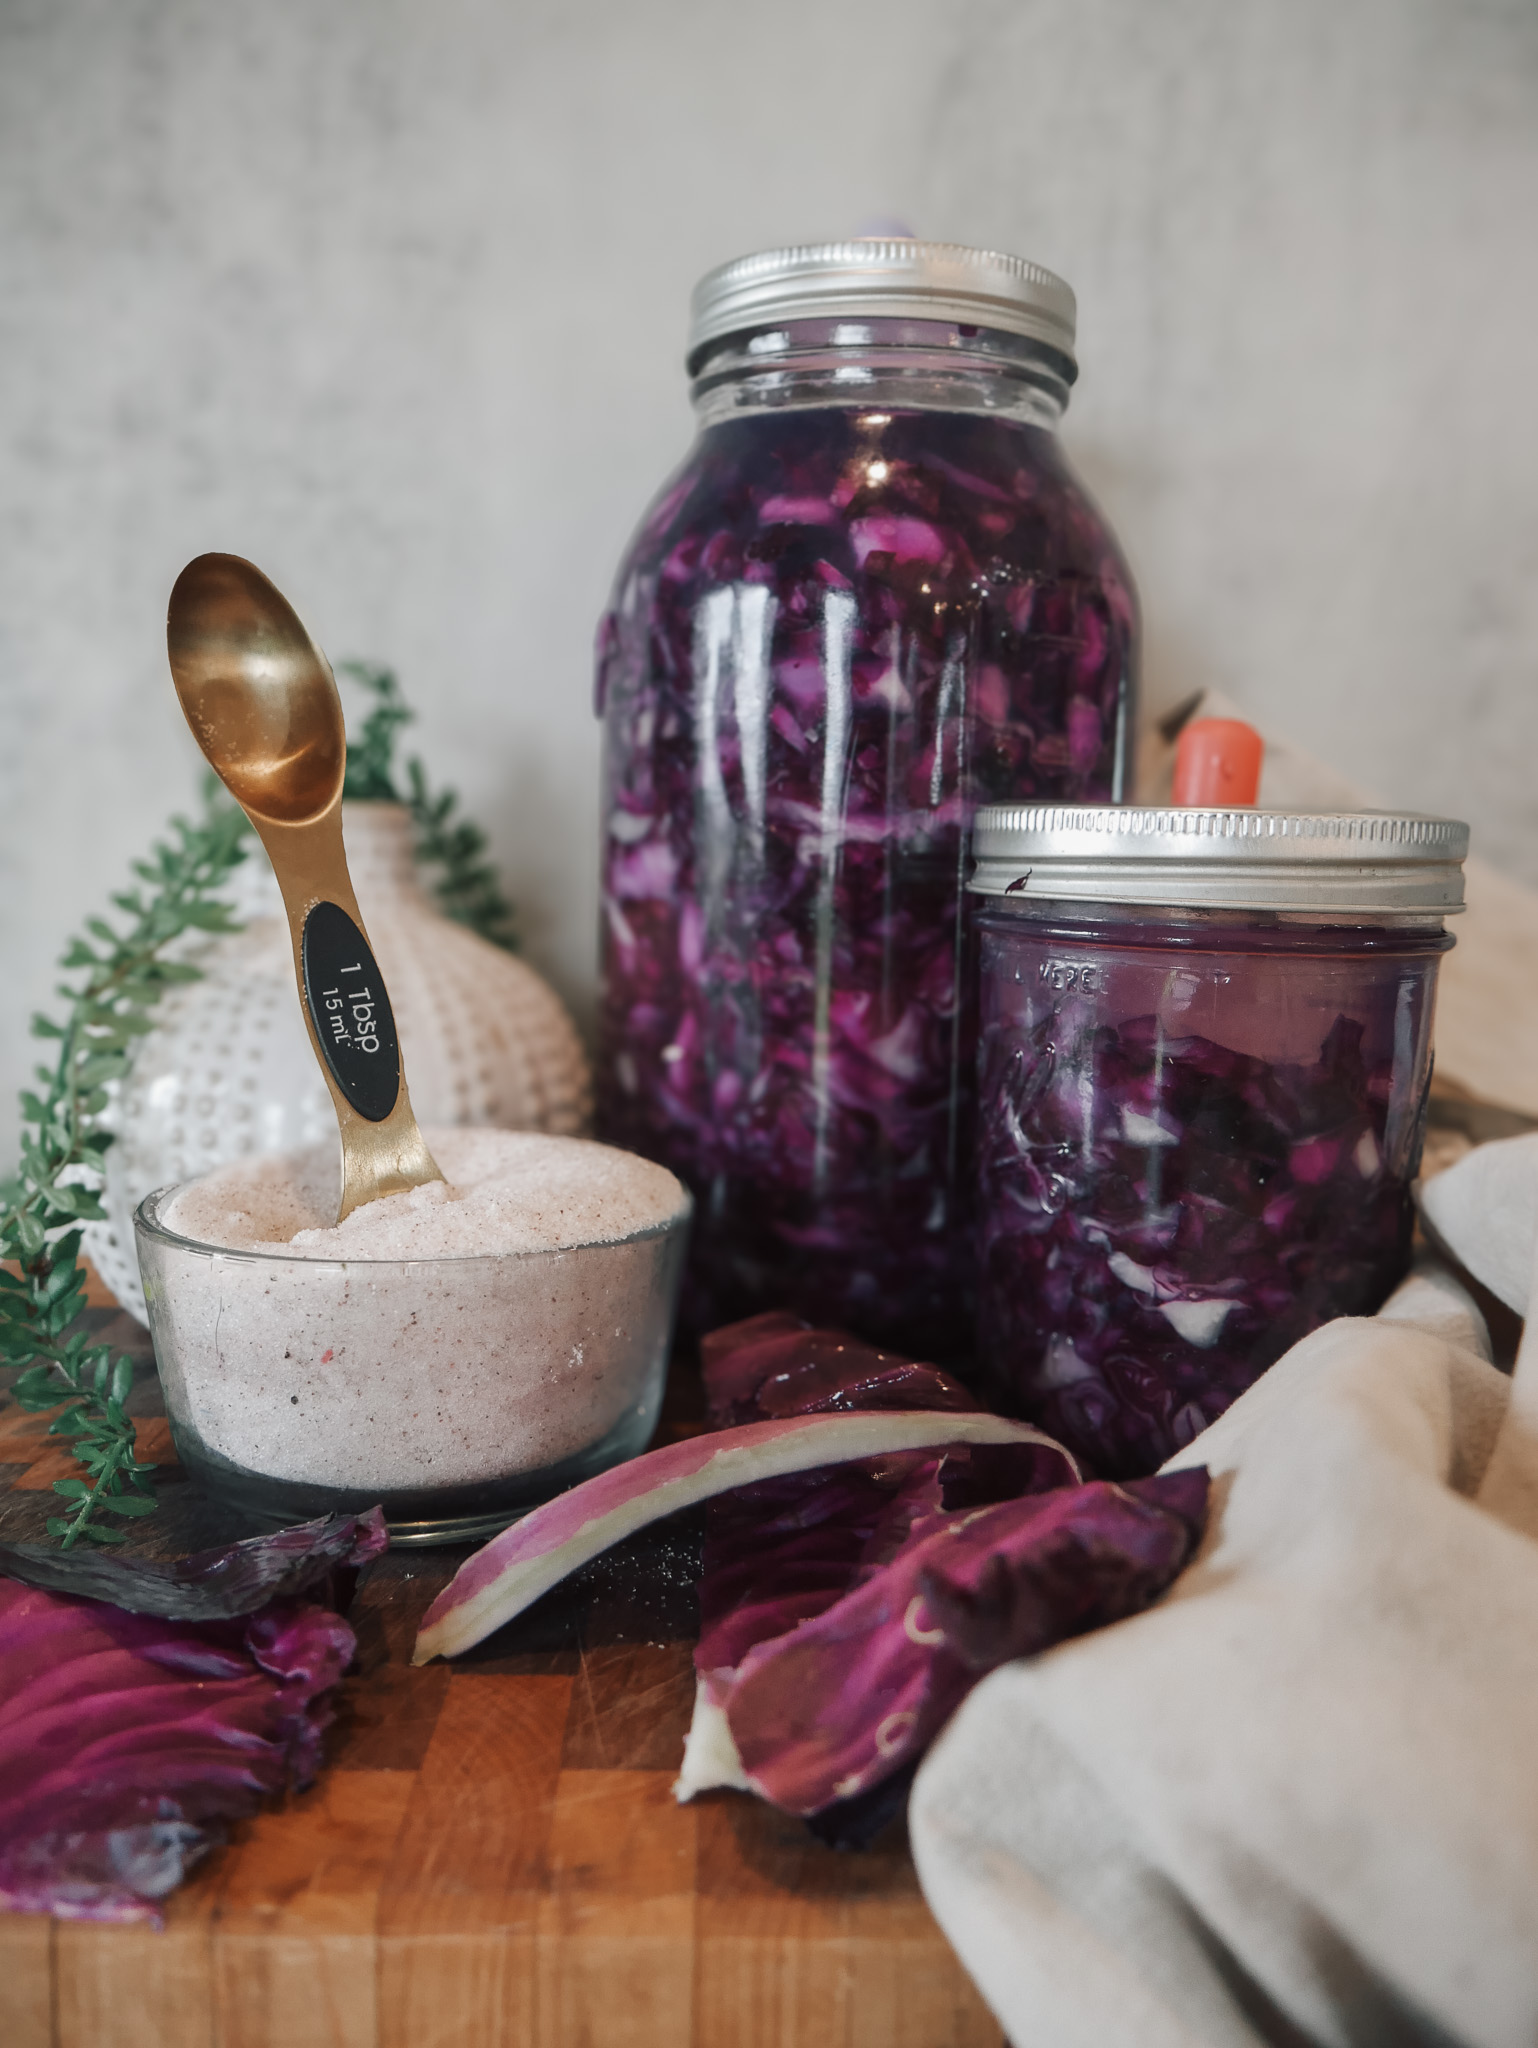
There is something incredibly satisfying about turning a simple head of cabbage into a jar full of tangy, probiotic-rich sauerkraut. With just cabbage, salt, and a little patience, you can create a traditional food that's been enjoyed for generations.
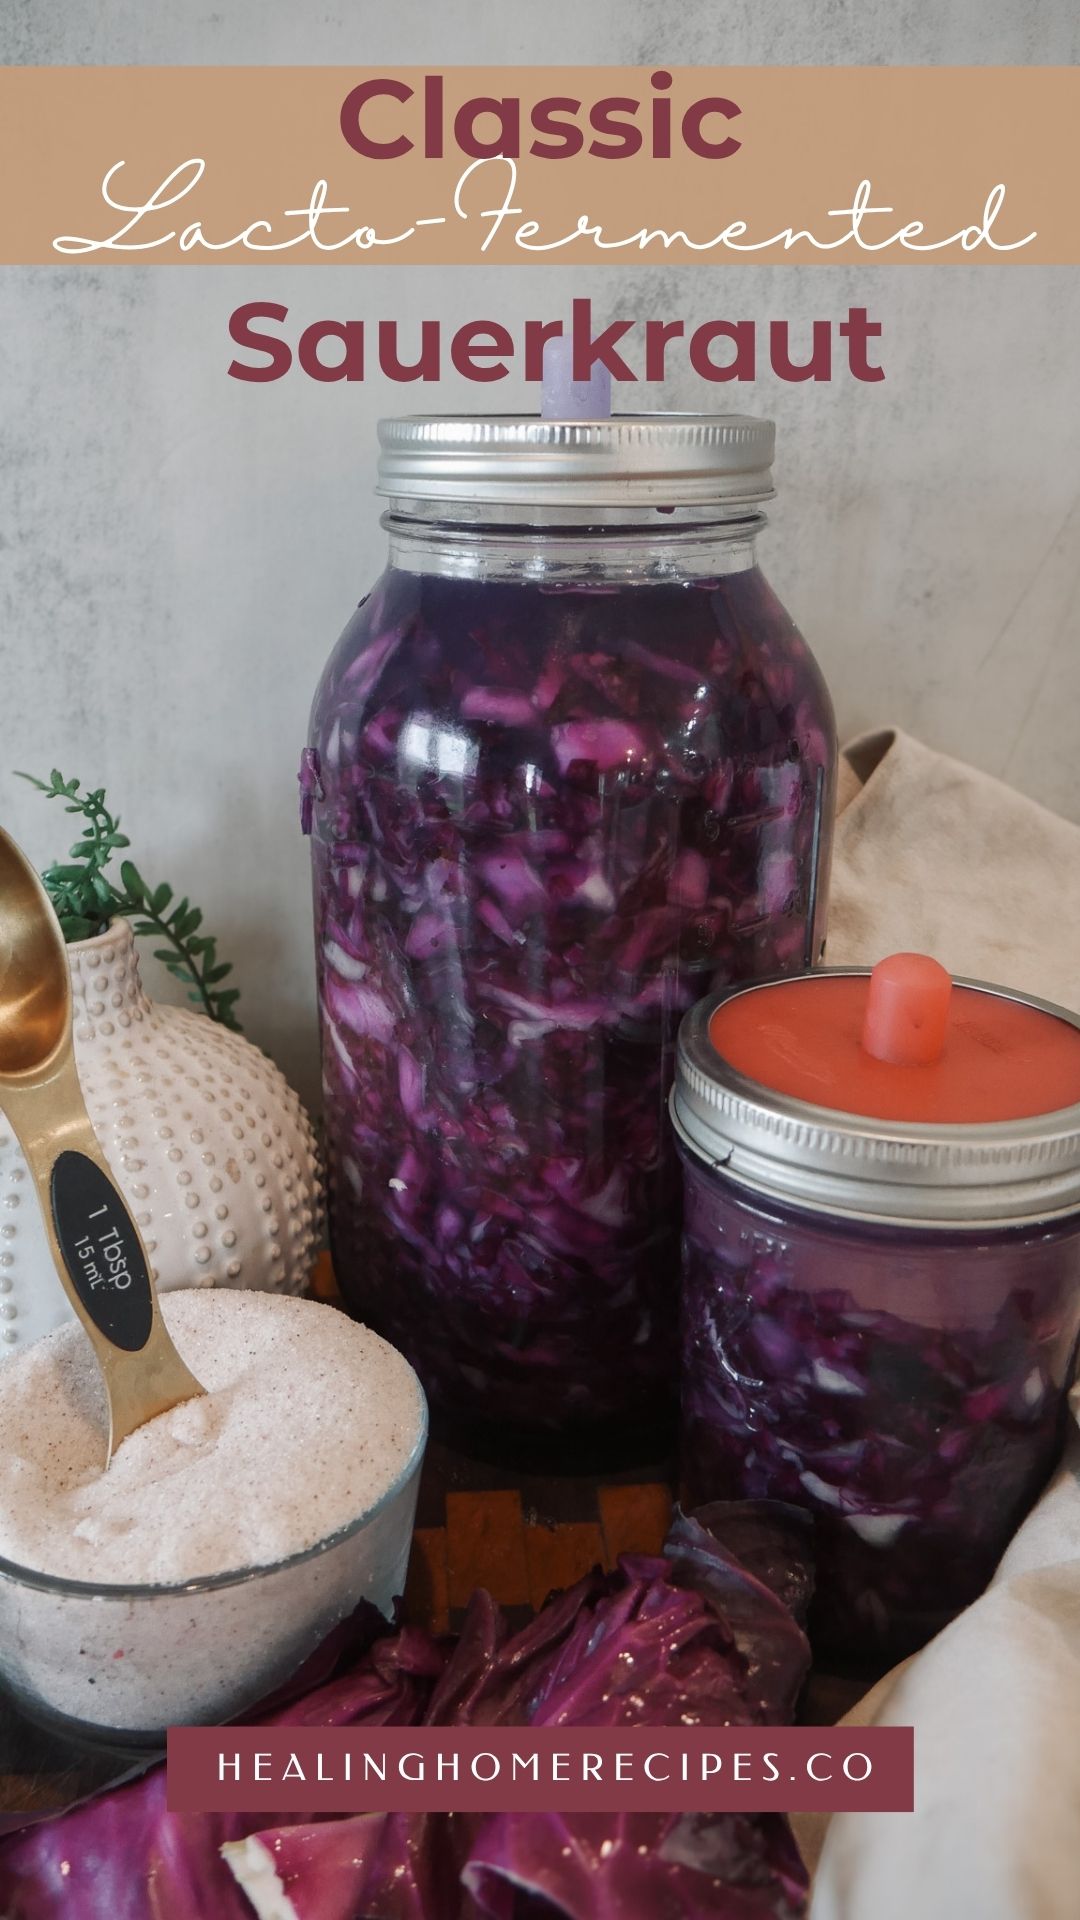
For this recipe, I'm using purple cabbage because I love the rich color it brings to the table. The vibrant purple creates a beautiful homemade sauerkraut that's just as delicious as it is eye-catching. If you prefer, you can easily substitute green cabbage with exactly the same results. So don't worry if the photos show purple cabbage—either variety works wonderfully.
One of the reasons I love making my own sauerkraut is the health benefits. During the fermentation process, naturally occurring beneficial bacteria transform the cabbage into one of my favorite probiotic foods, helping support gut health and even contributing to a healthy immune system. It's a simple recipe that has stood the test of time.
When it comes to salt, I always reach for Redmond Real Salt. I love that it's minimally processed, contains naturally occurring trace minerals, and produces consistently great results when fermenting vegetables. If you see a link to it in this post, it's an affiliate link, which simply means I earn a small commission at no extra cost to you.
Whether this is your first batch or you've been fermenting for years, this homemade sauerkraut is an easy way to fill your refrigerator with wholesome, nourishing food.
Jump to:
Ingredients
- 1-2 medium purple cabbages (or green cabbage)
- 2-3 tablespoons Redmond Real Salt (or another high-quality sea salt)
That's it! Traditional sauerkraut only requires two ingredients.
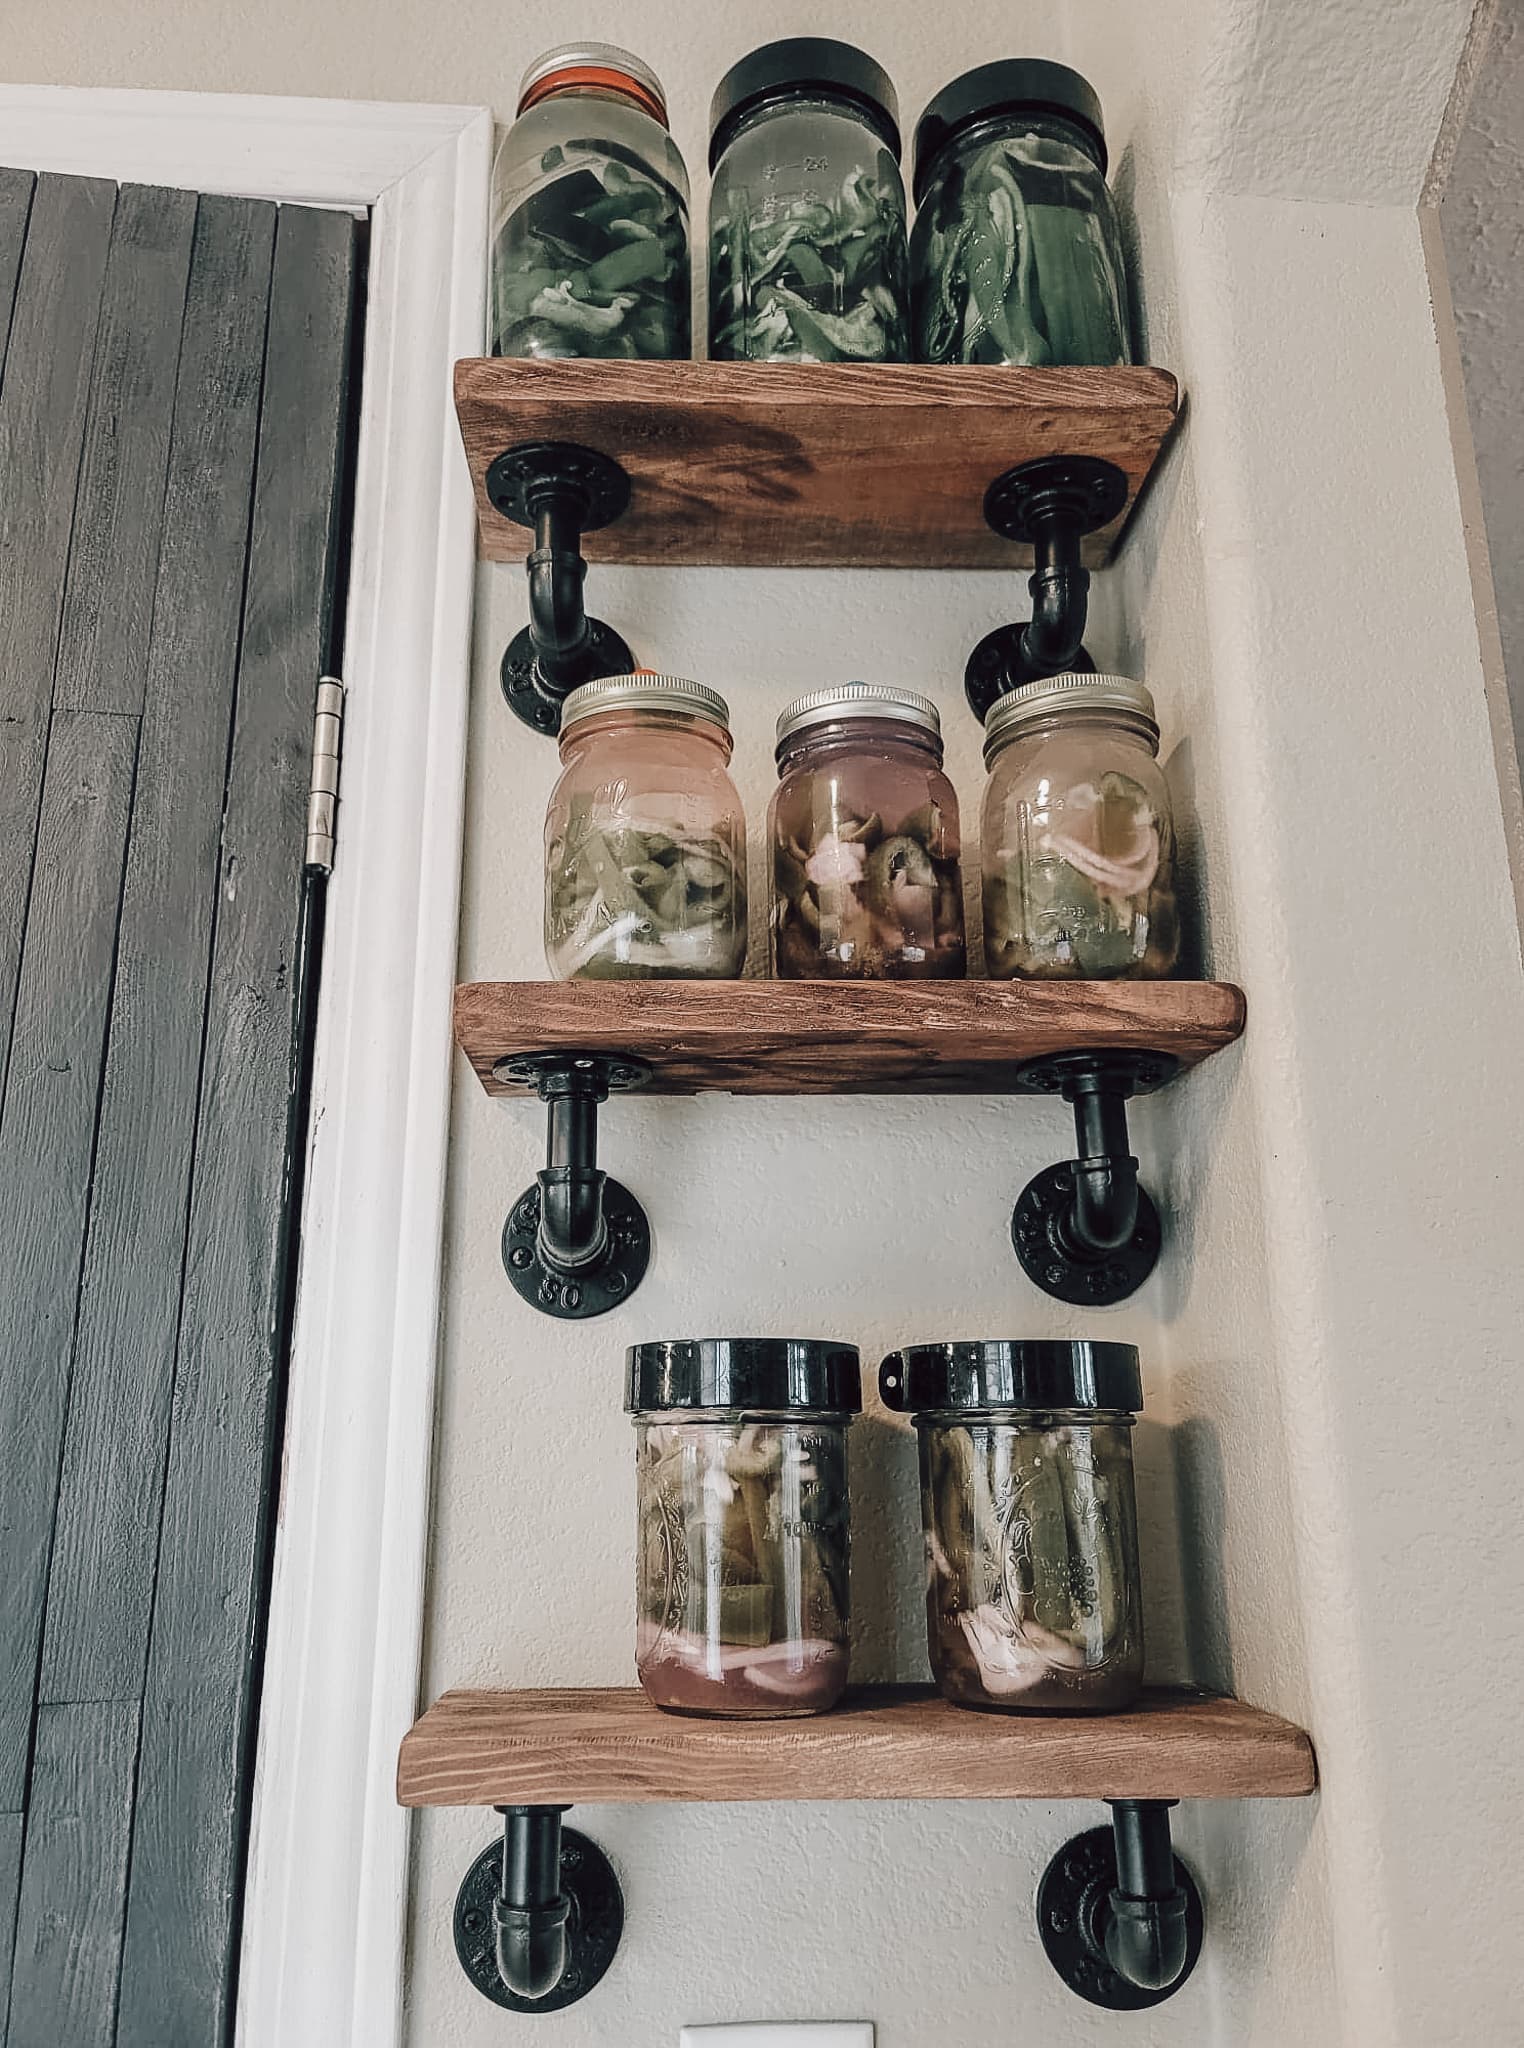
If you like lacto-fermented preservation methods, be sure to check out my pepper recipe!
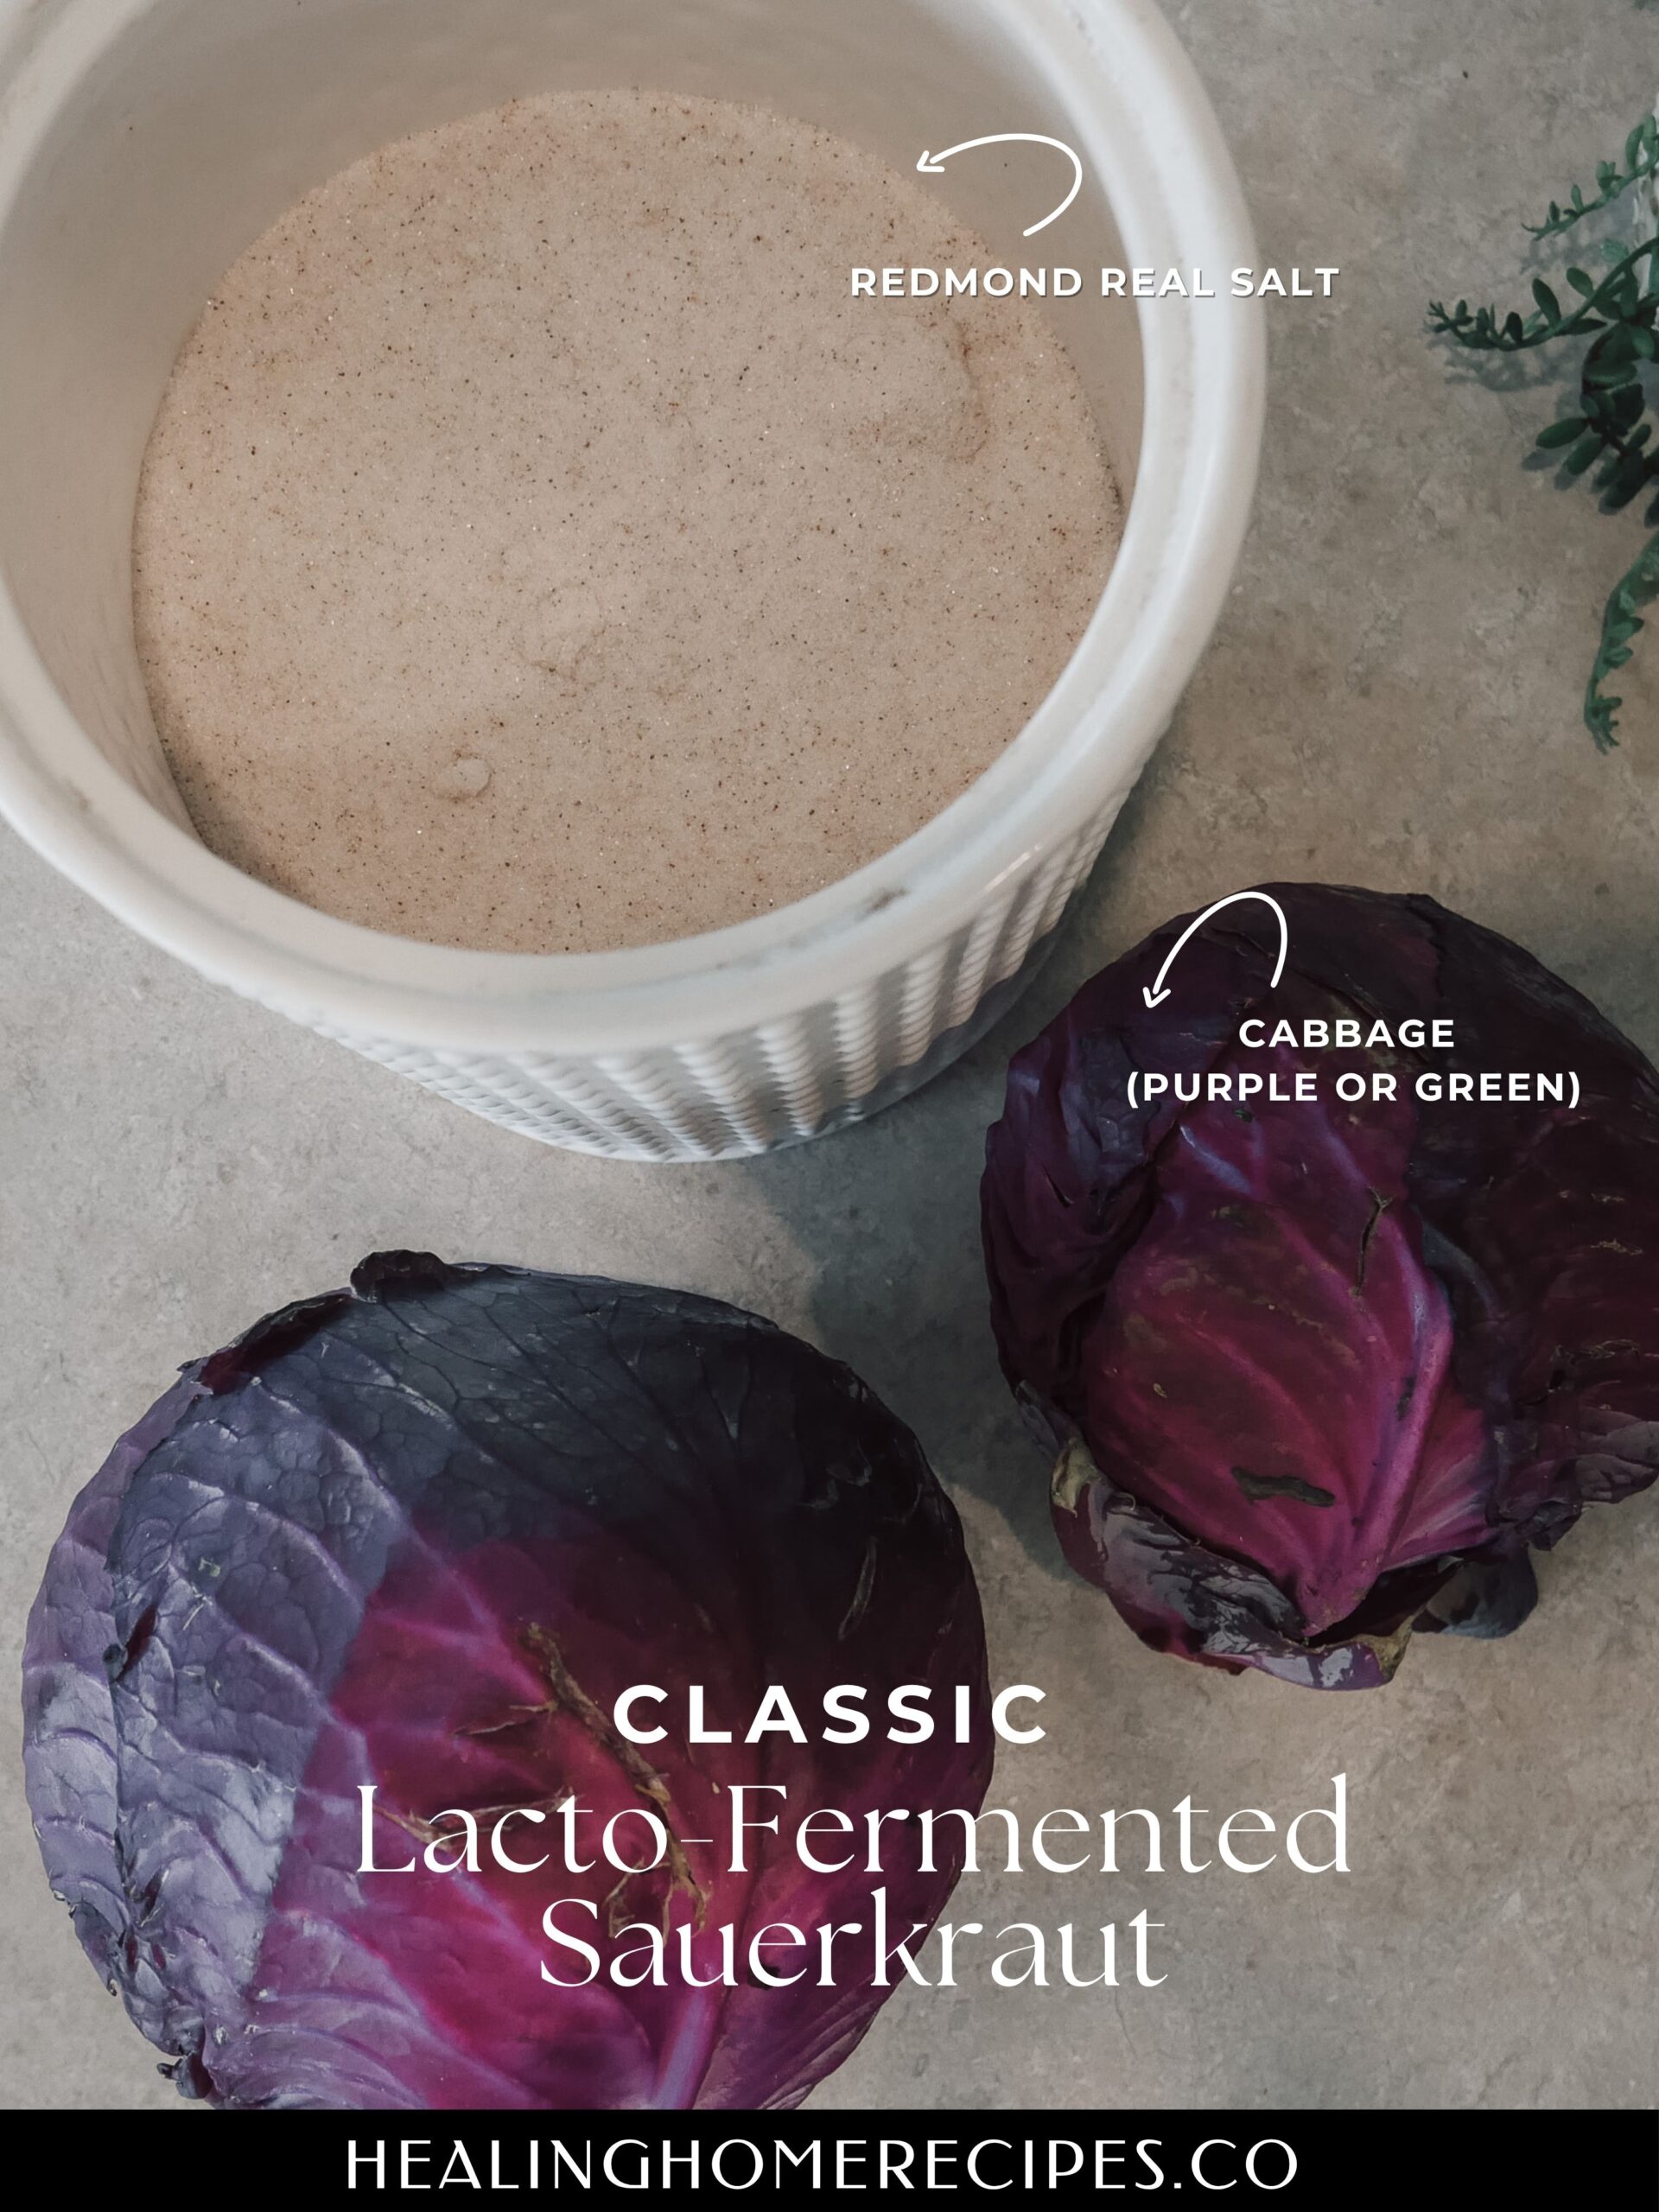
The salt draws moisture from the shredded cabbage, creating its own natural brine while encouraging the process of lacto-fermentation. Avoid iodized table salt, as it can interfere with fermentation. A natural mineral salt like Redmond Real Salt is my favorite choice.
Instructions for Lacto-Fermented Sauerkraut
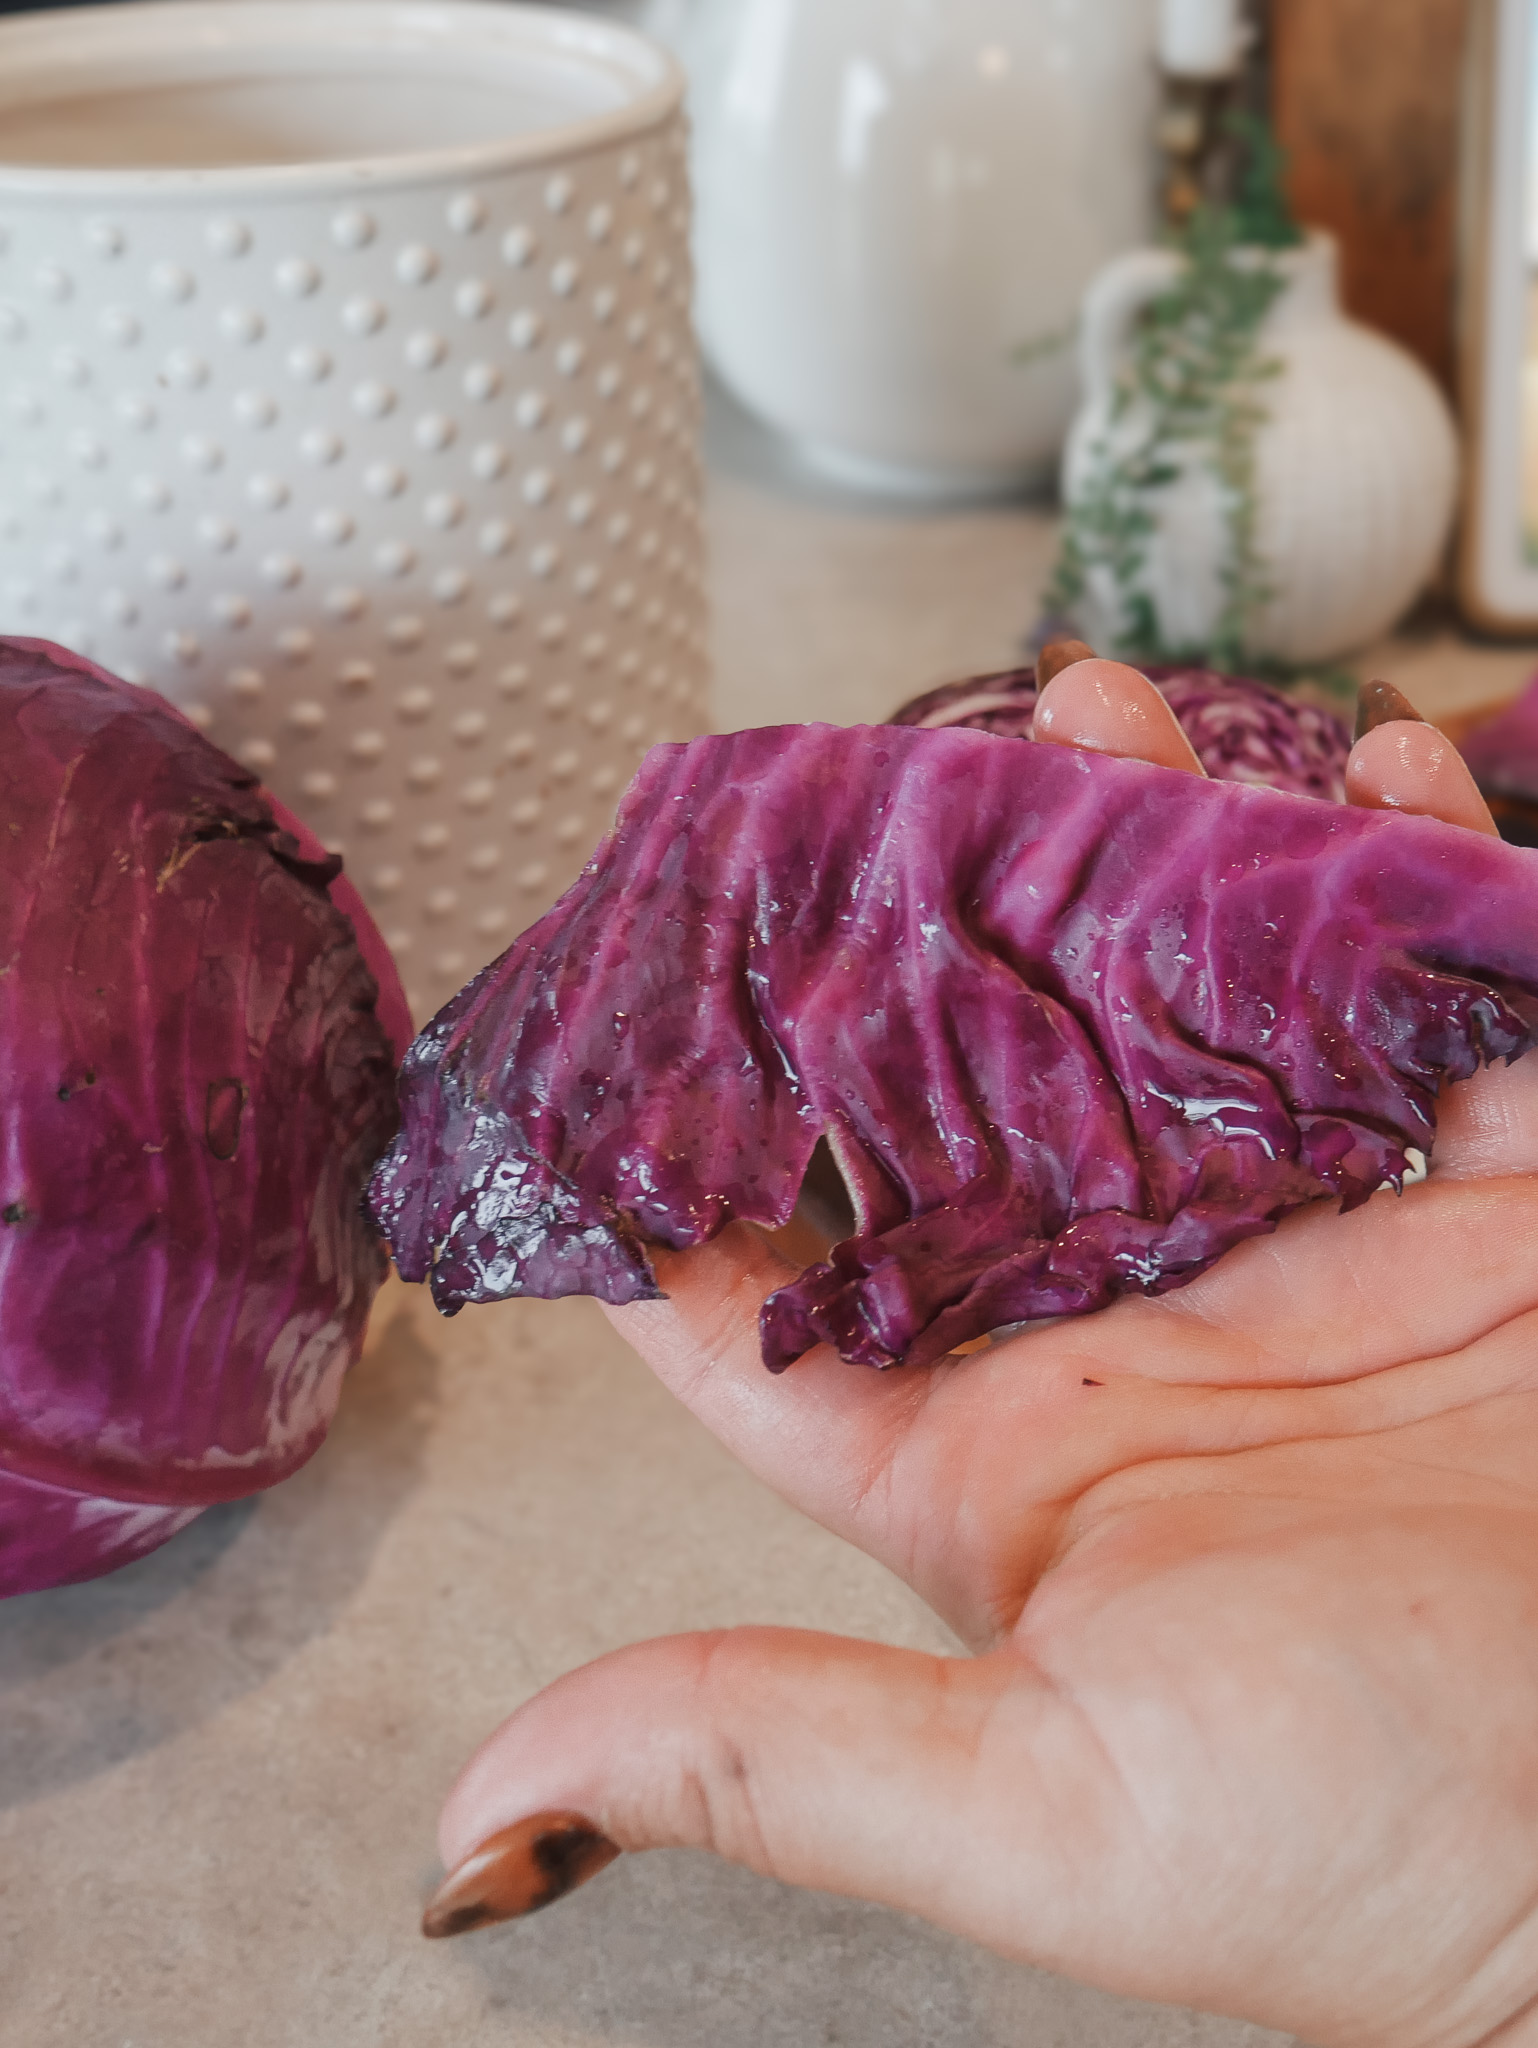
- Step 1: Remove a couple of the outer leaves from the cabbage and set them aside.
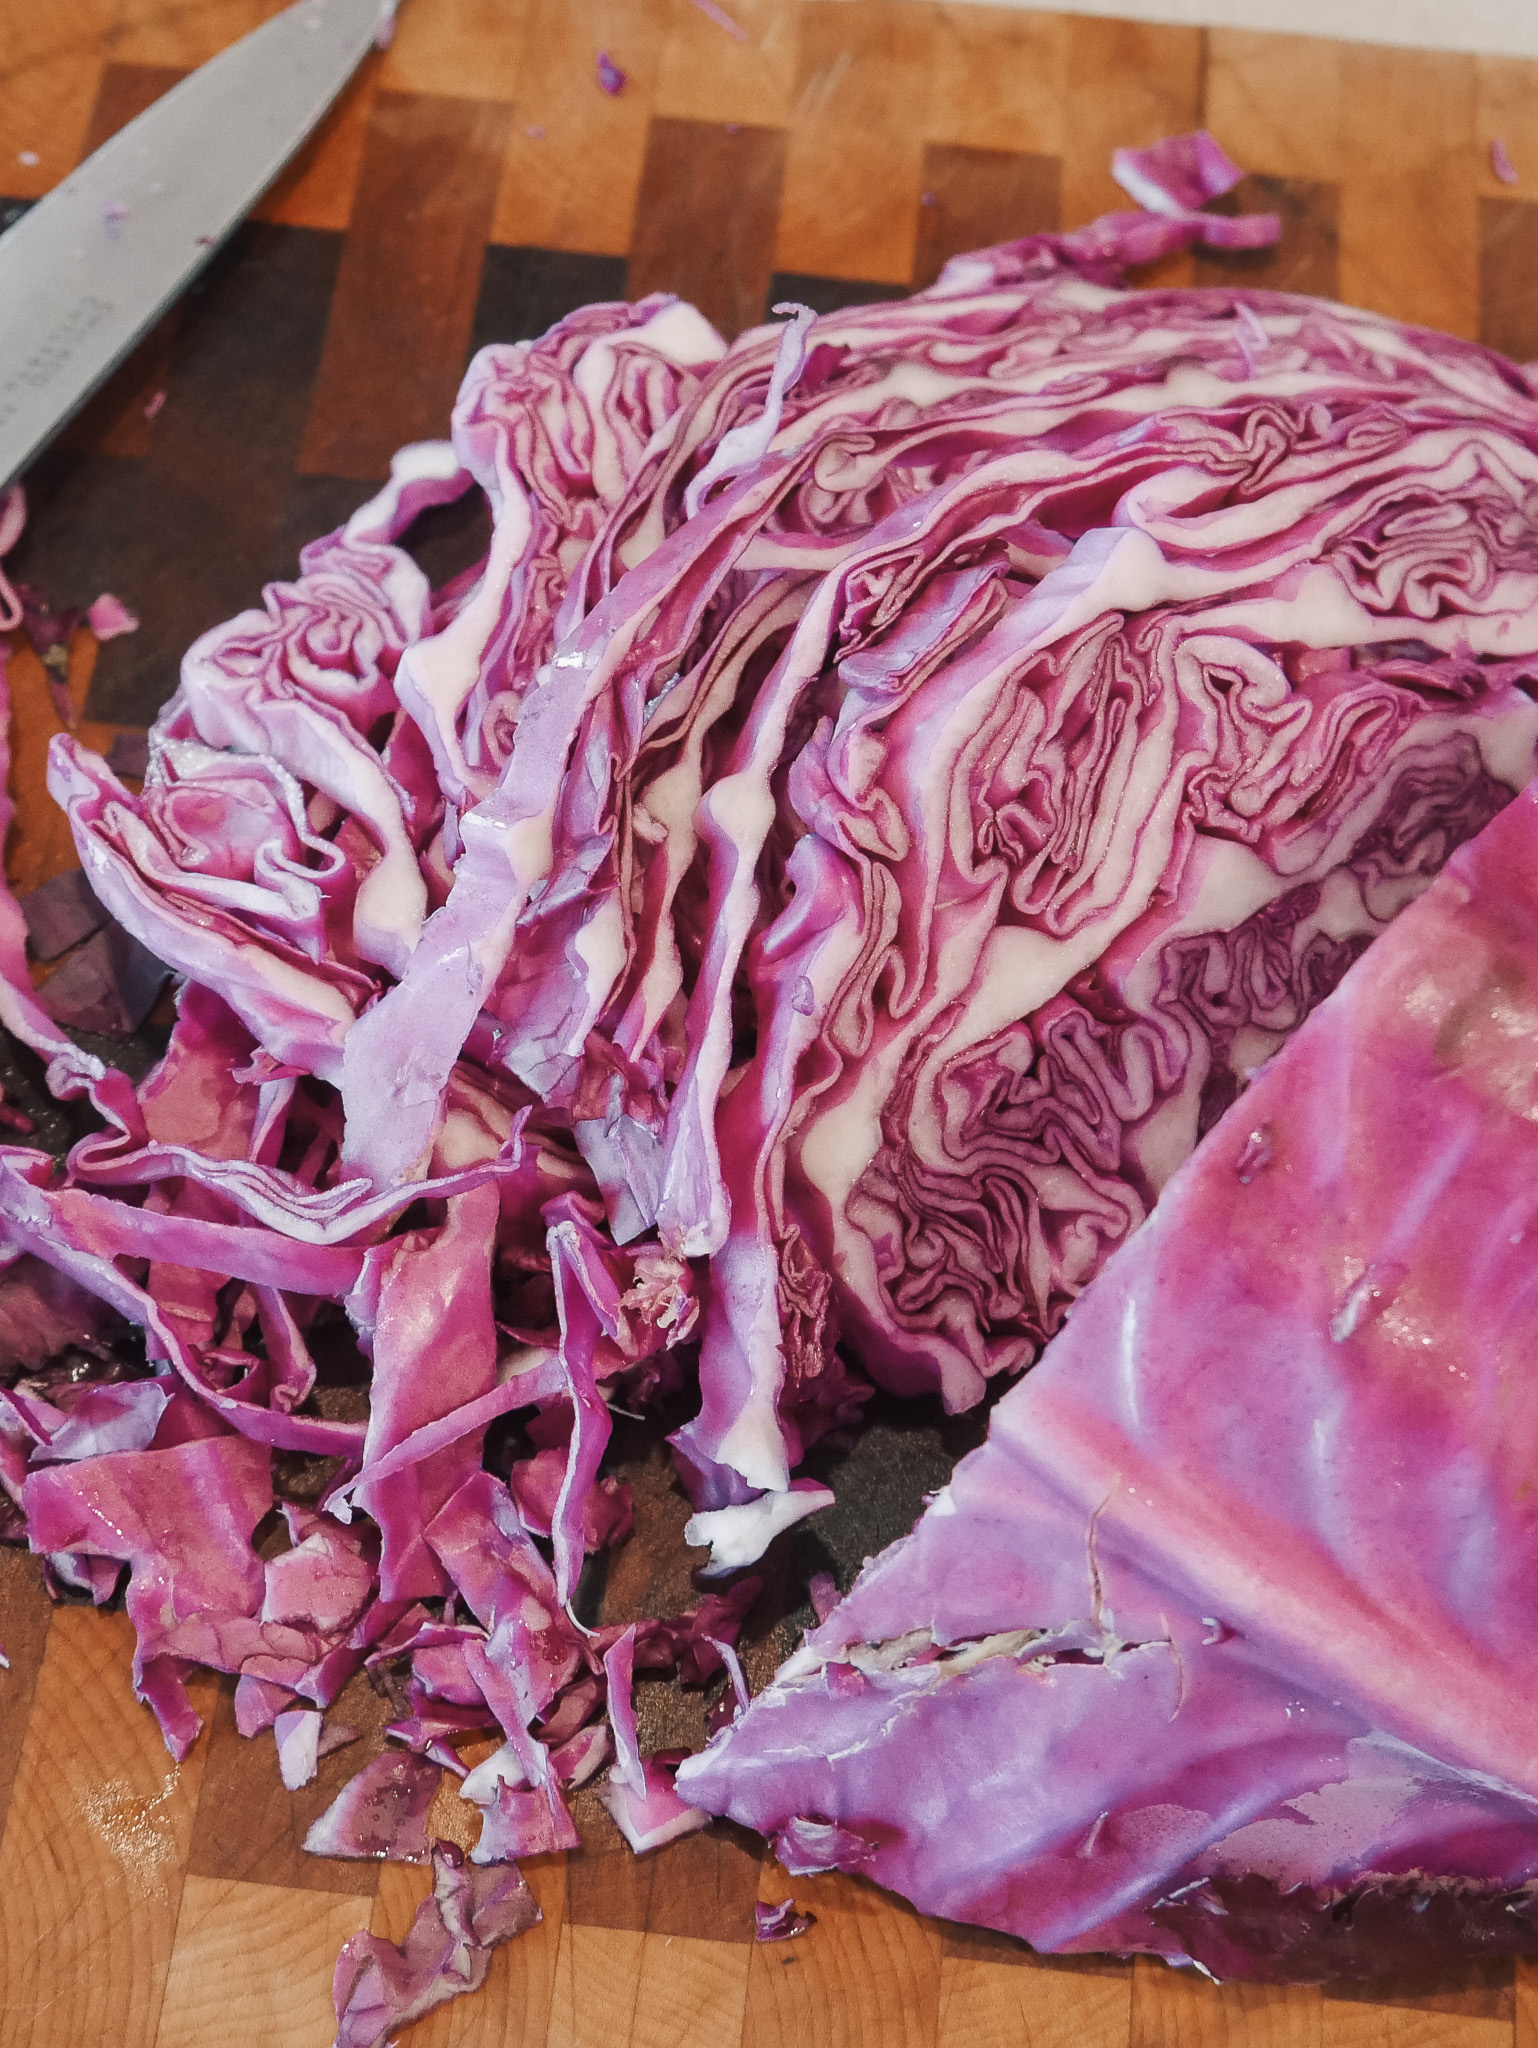
- Step 2: Quarter the cabbage, remove the core, and finely slice or shred it.
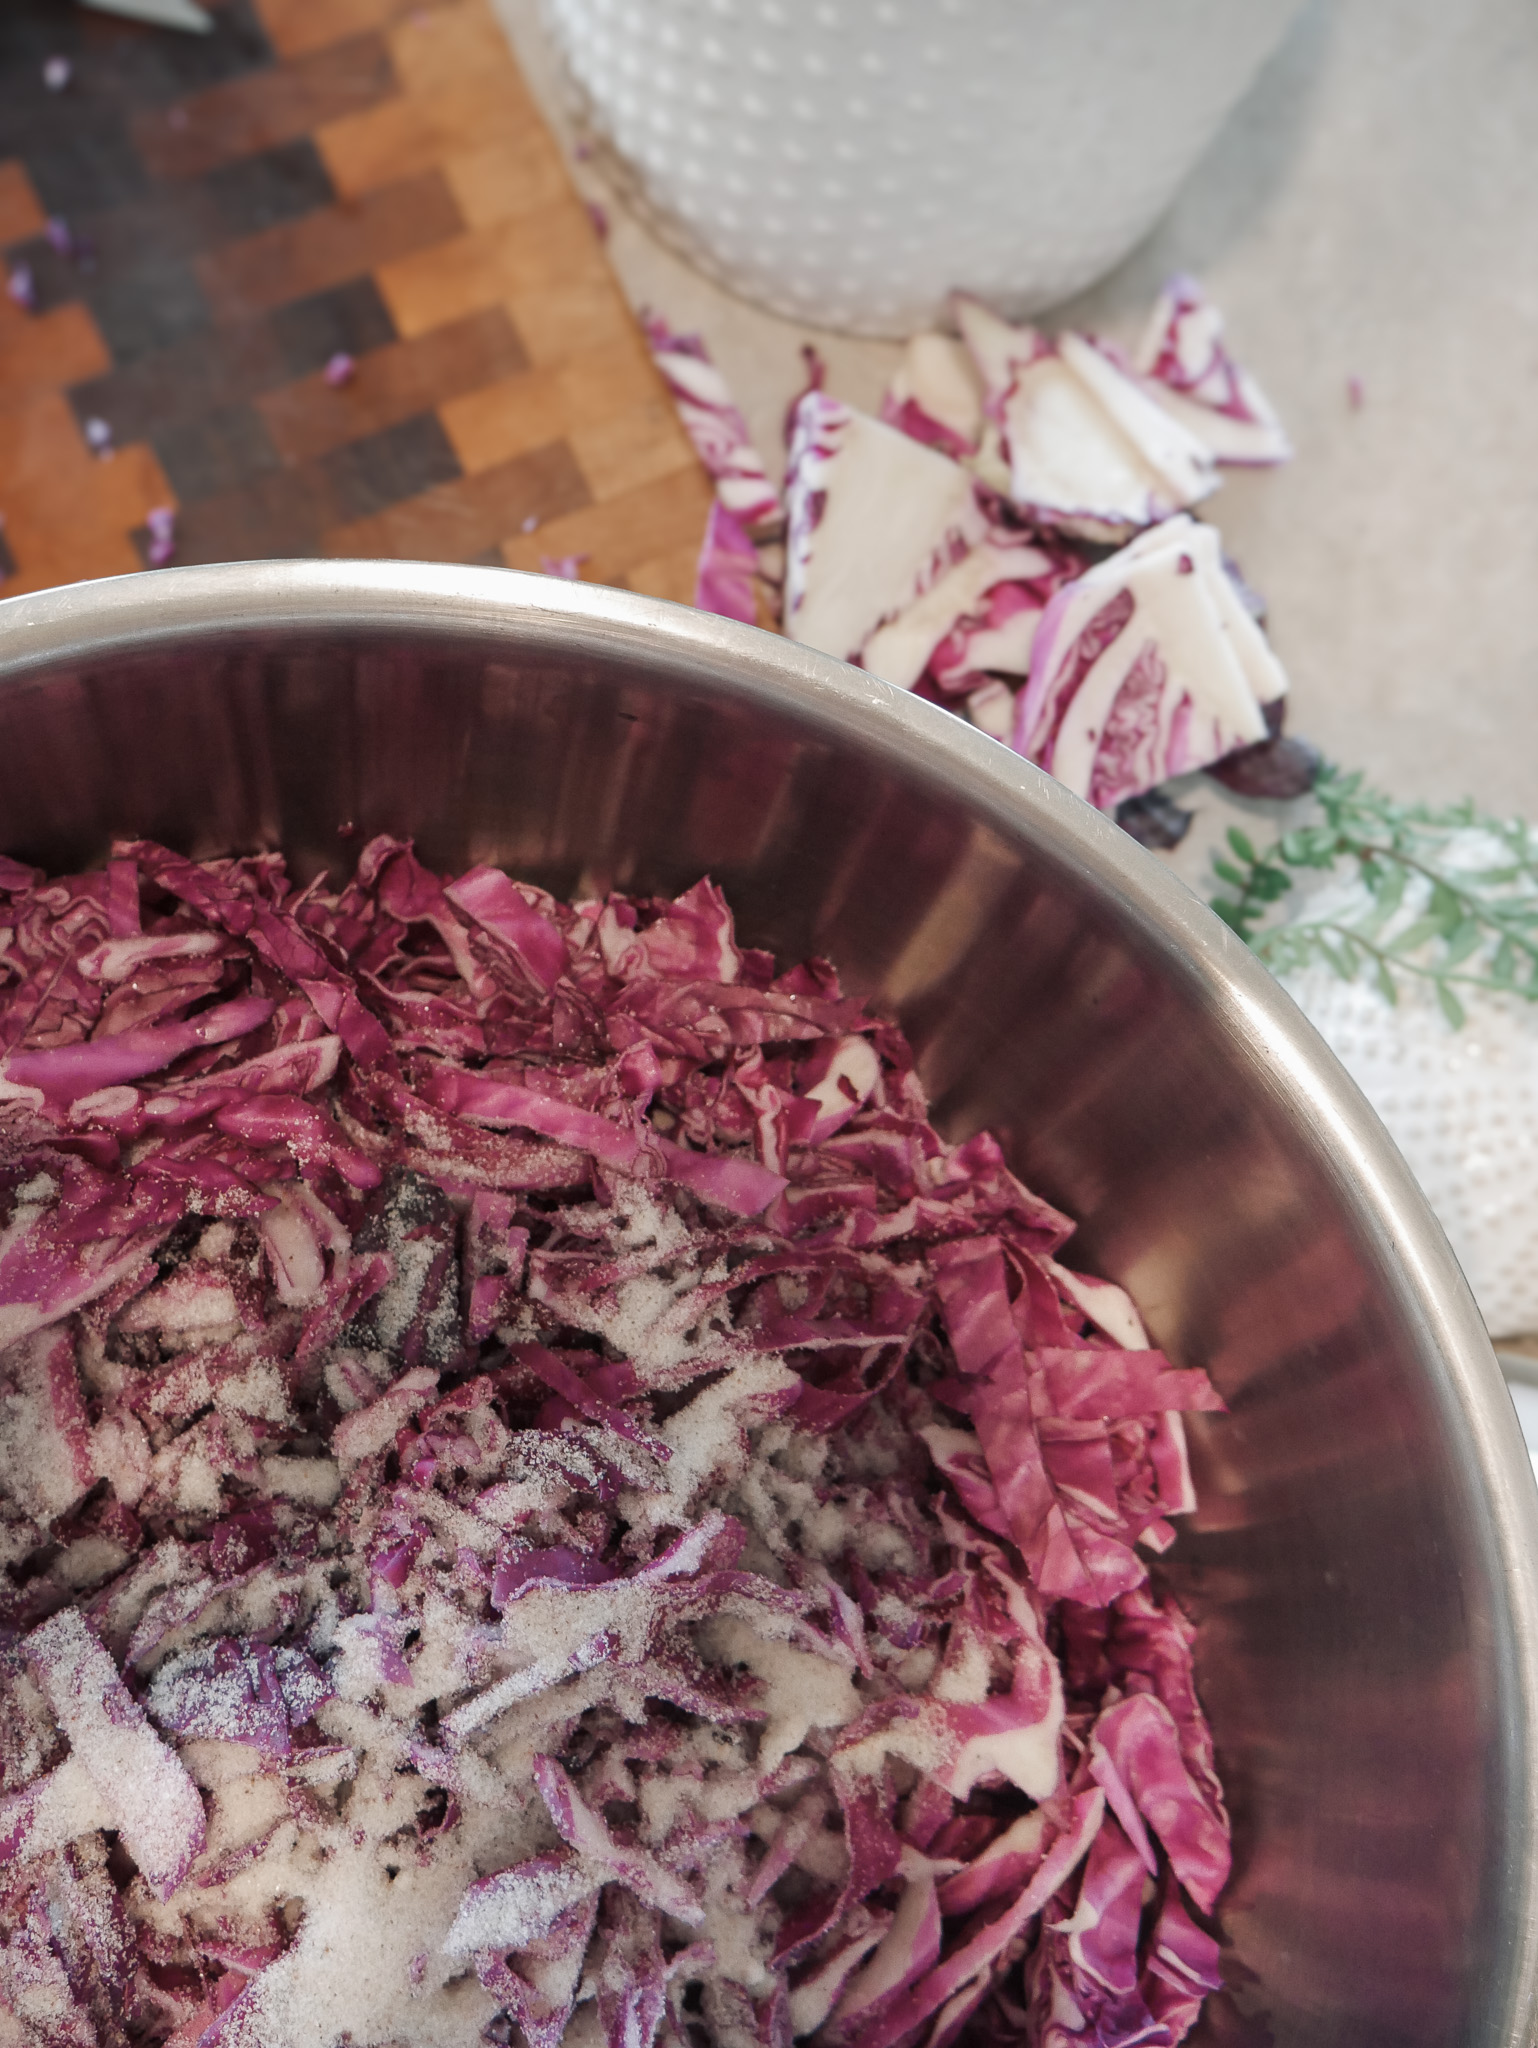
- Step 3: Place the shredded cabbage into a large bowl and sprinkle it evenly with the salt
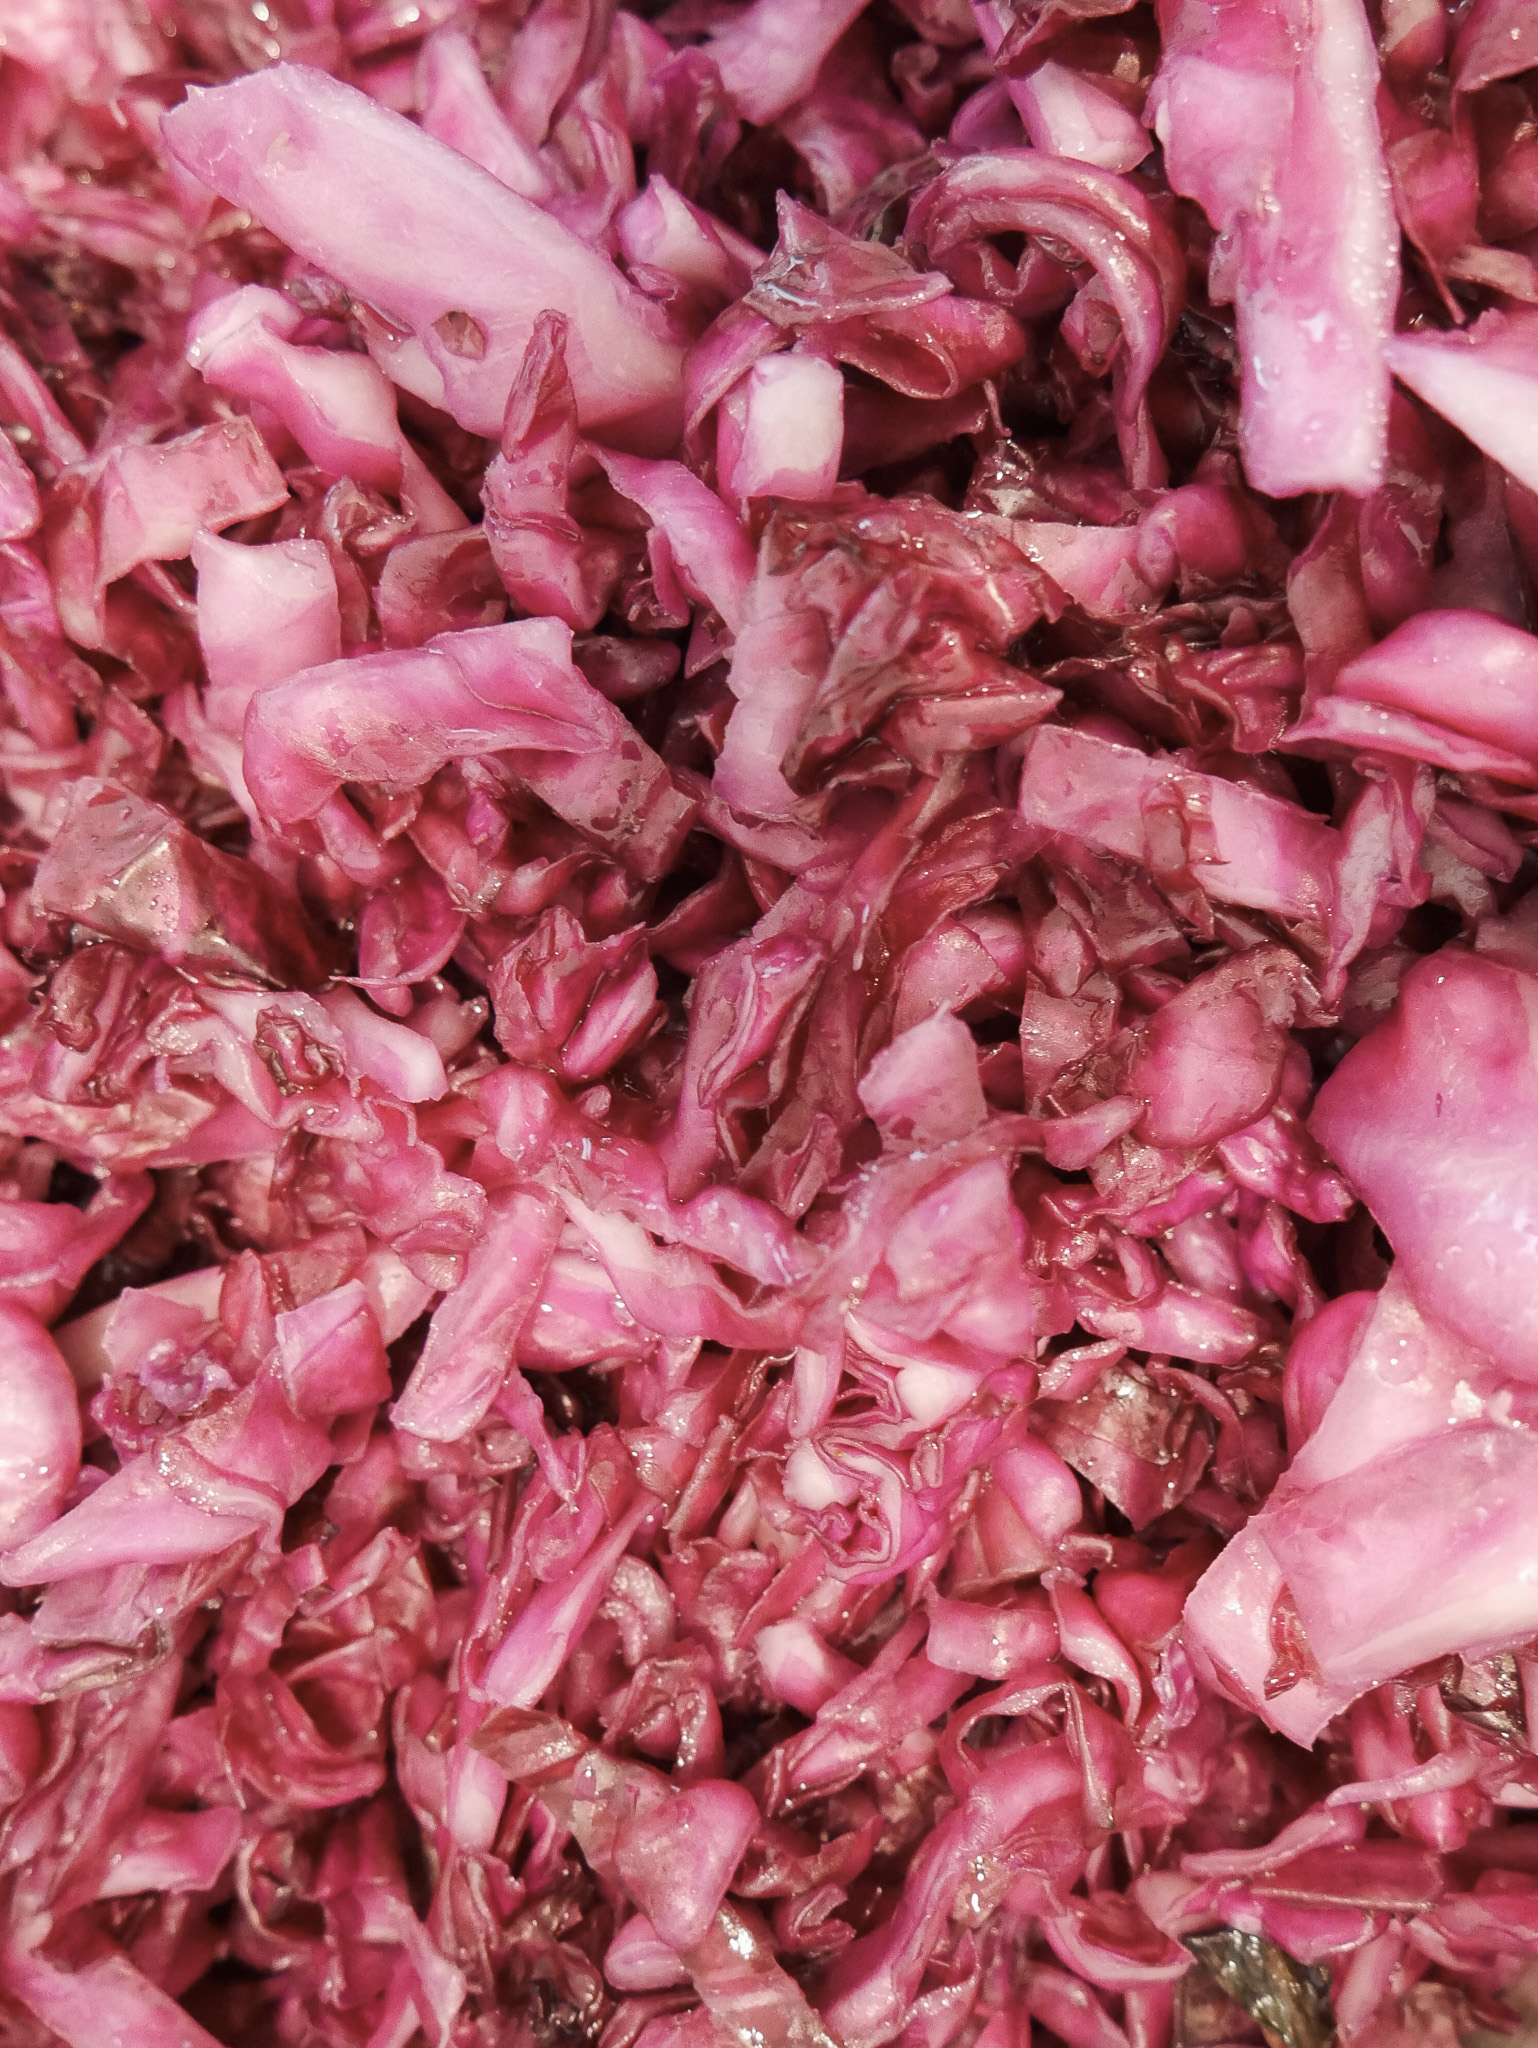
- Step 4: Massage the cabbage with clean hands for 5–10 minutes. As you work the salt into the cabbage, it will begin releasing its own liquid. Continue until there's enough brine to cover the cabbage once packed into the jar.
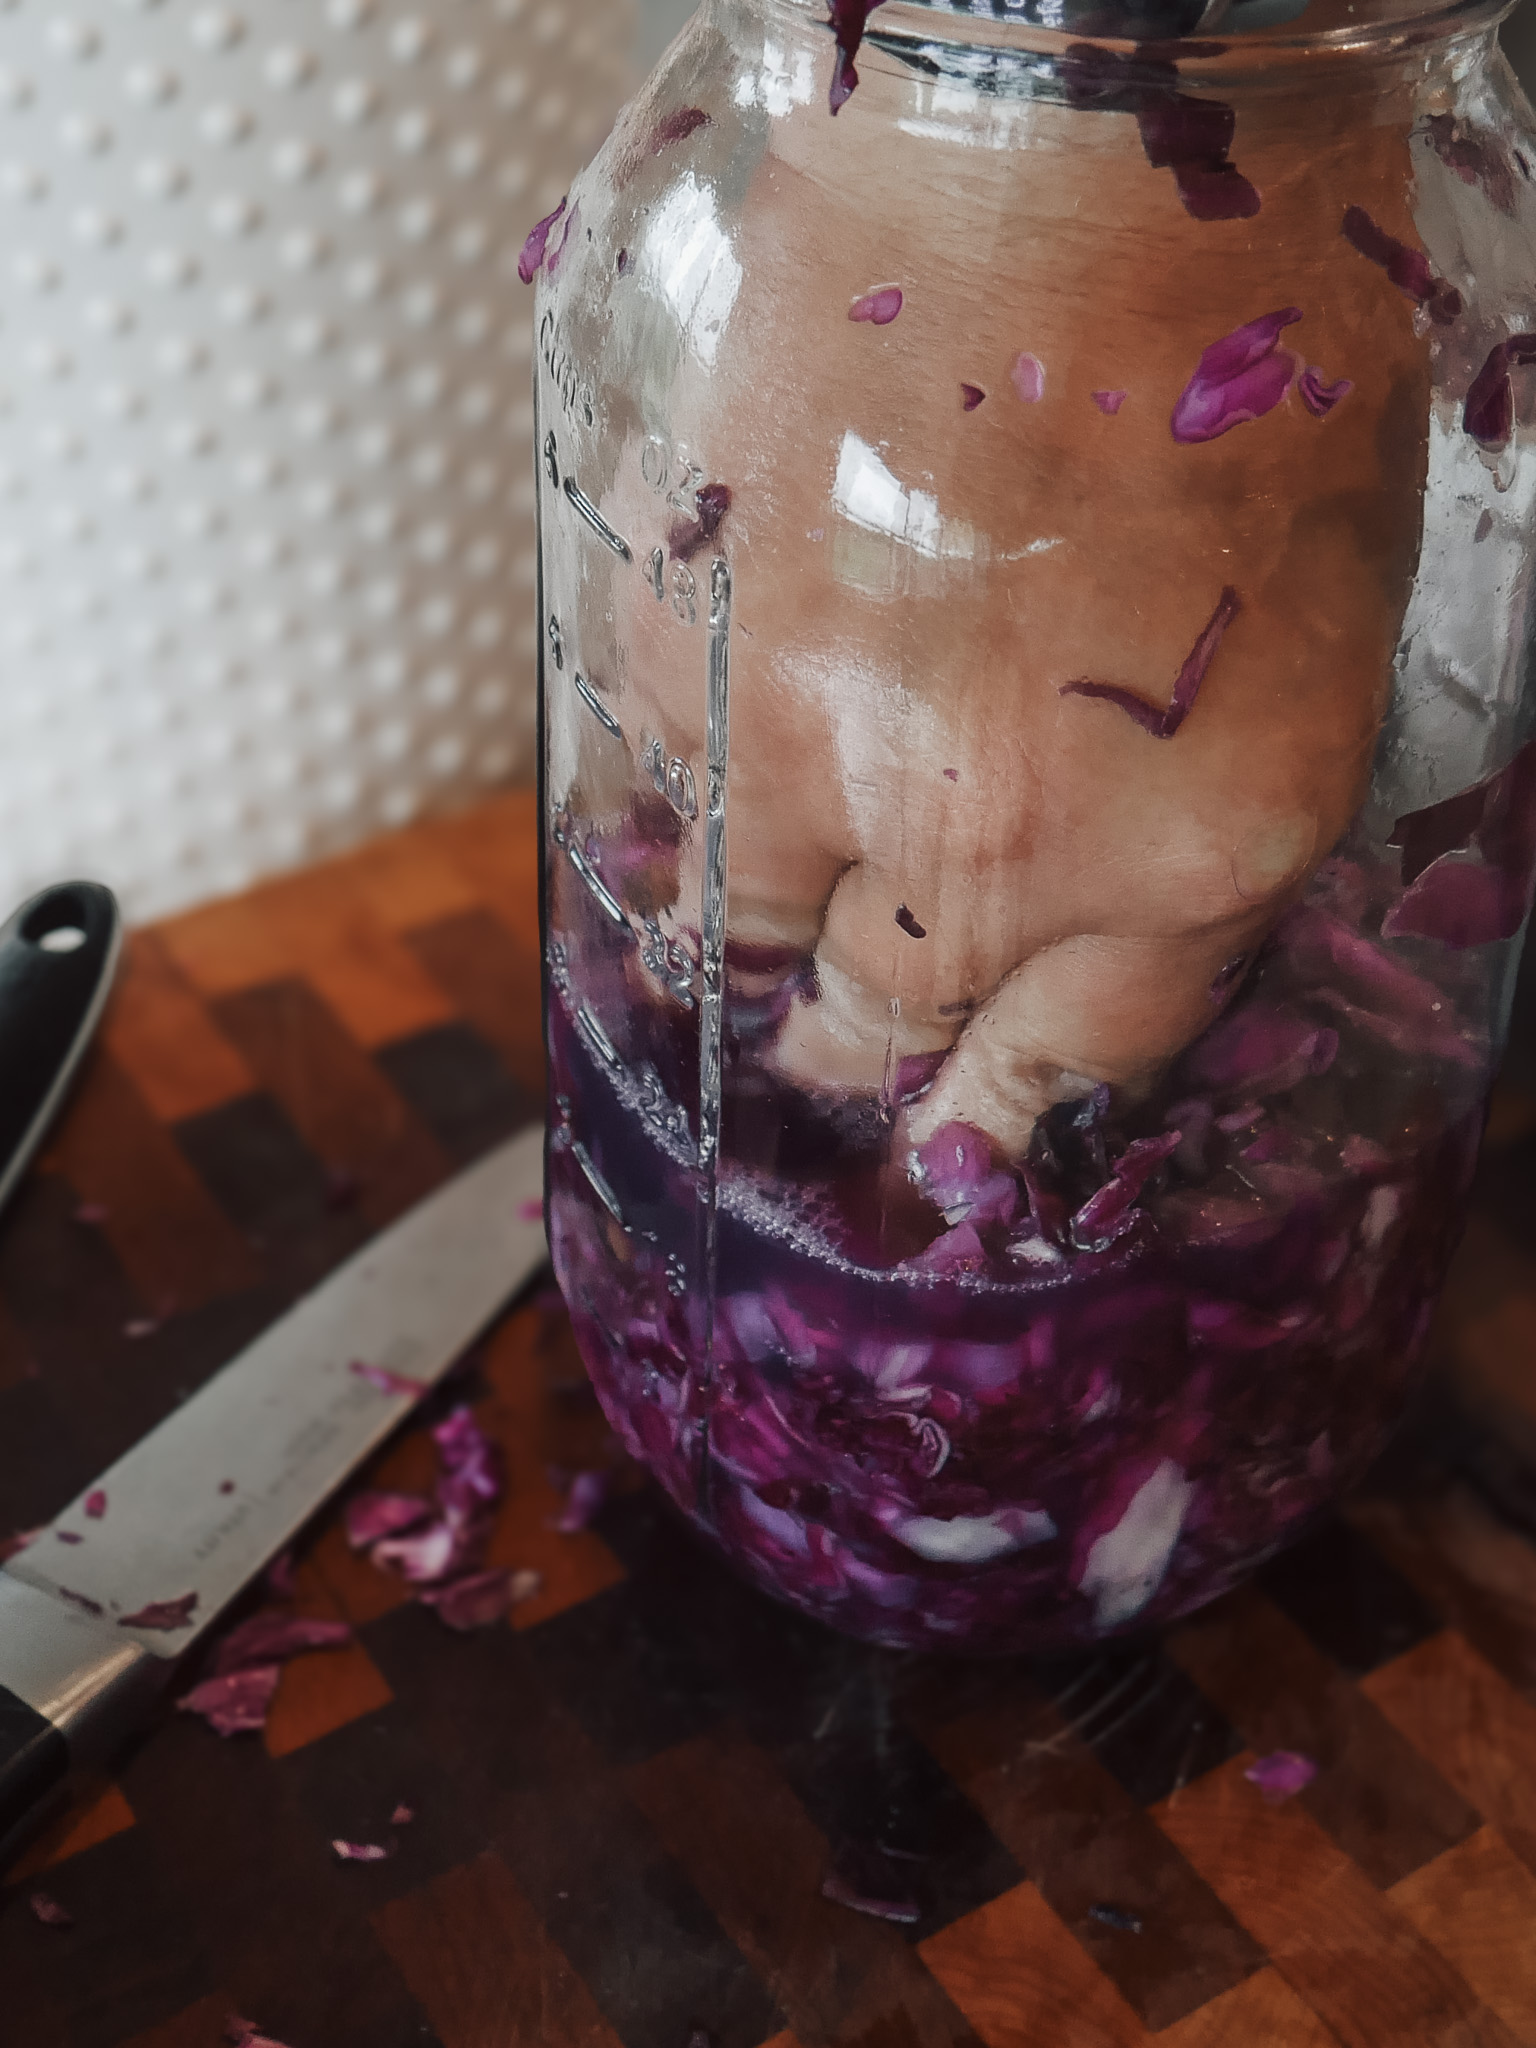
- Step 5: Pack the cabbage tightly into a clean glass jar, pressing firmly after each handful. I like using wide-mouth mason jars because they're easy to fill and clean.
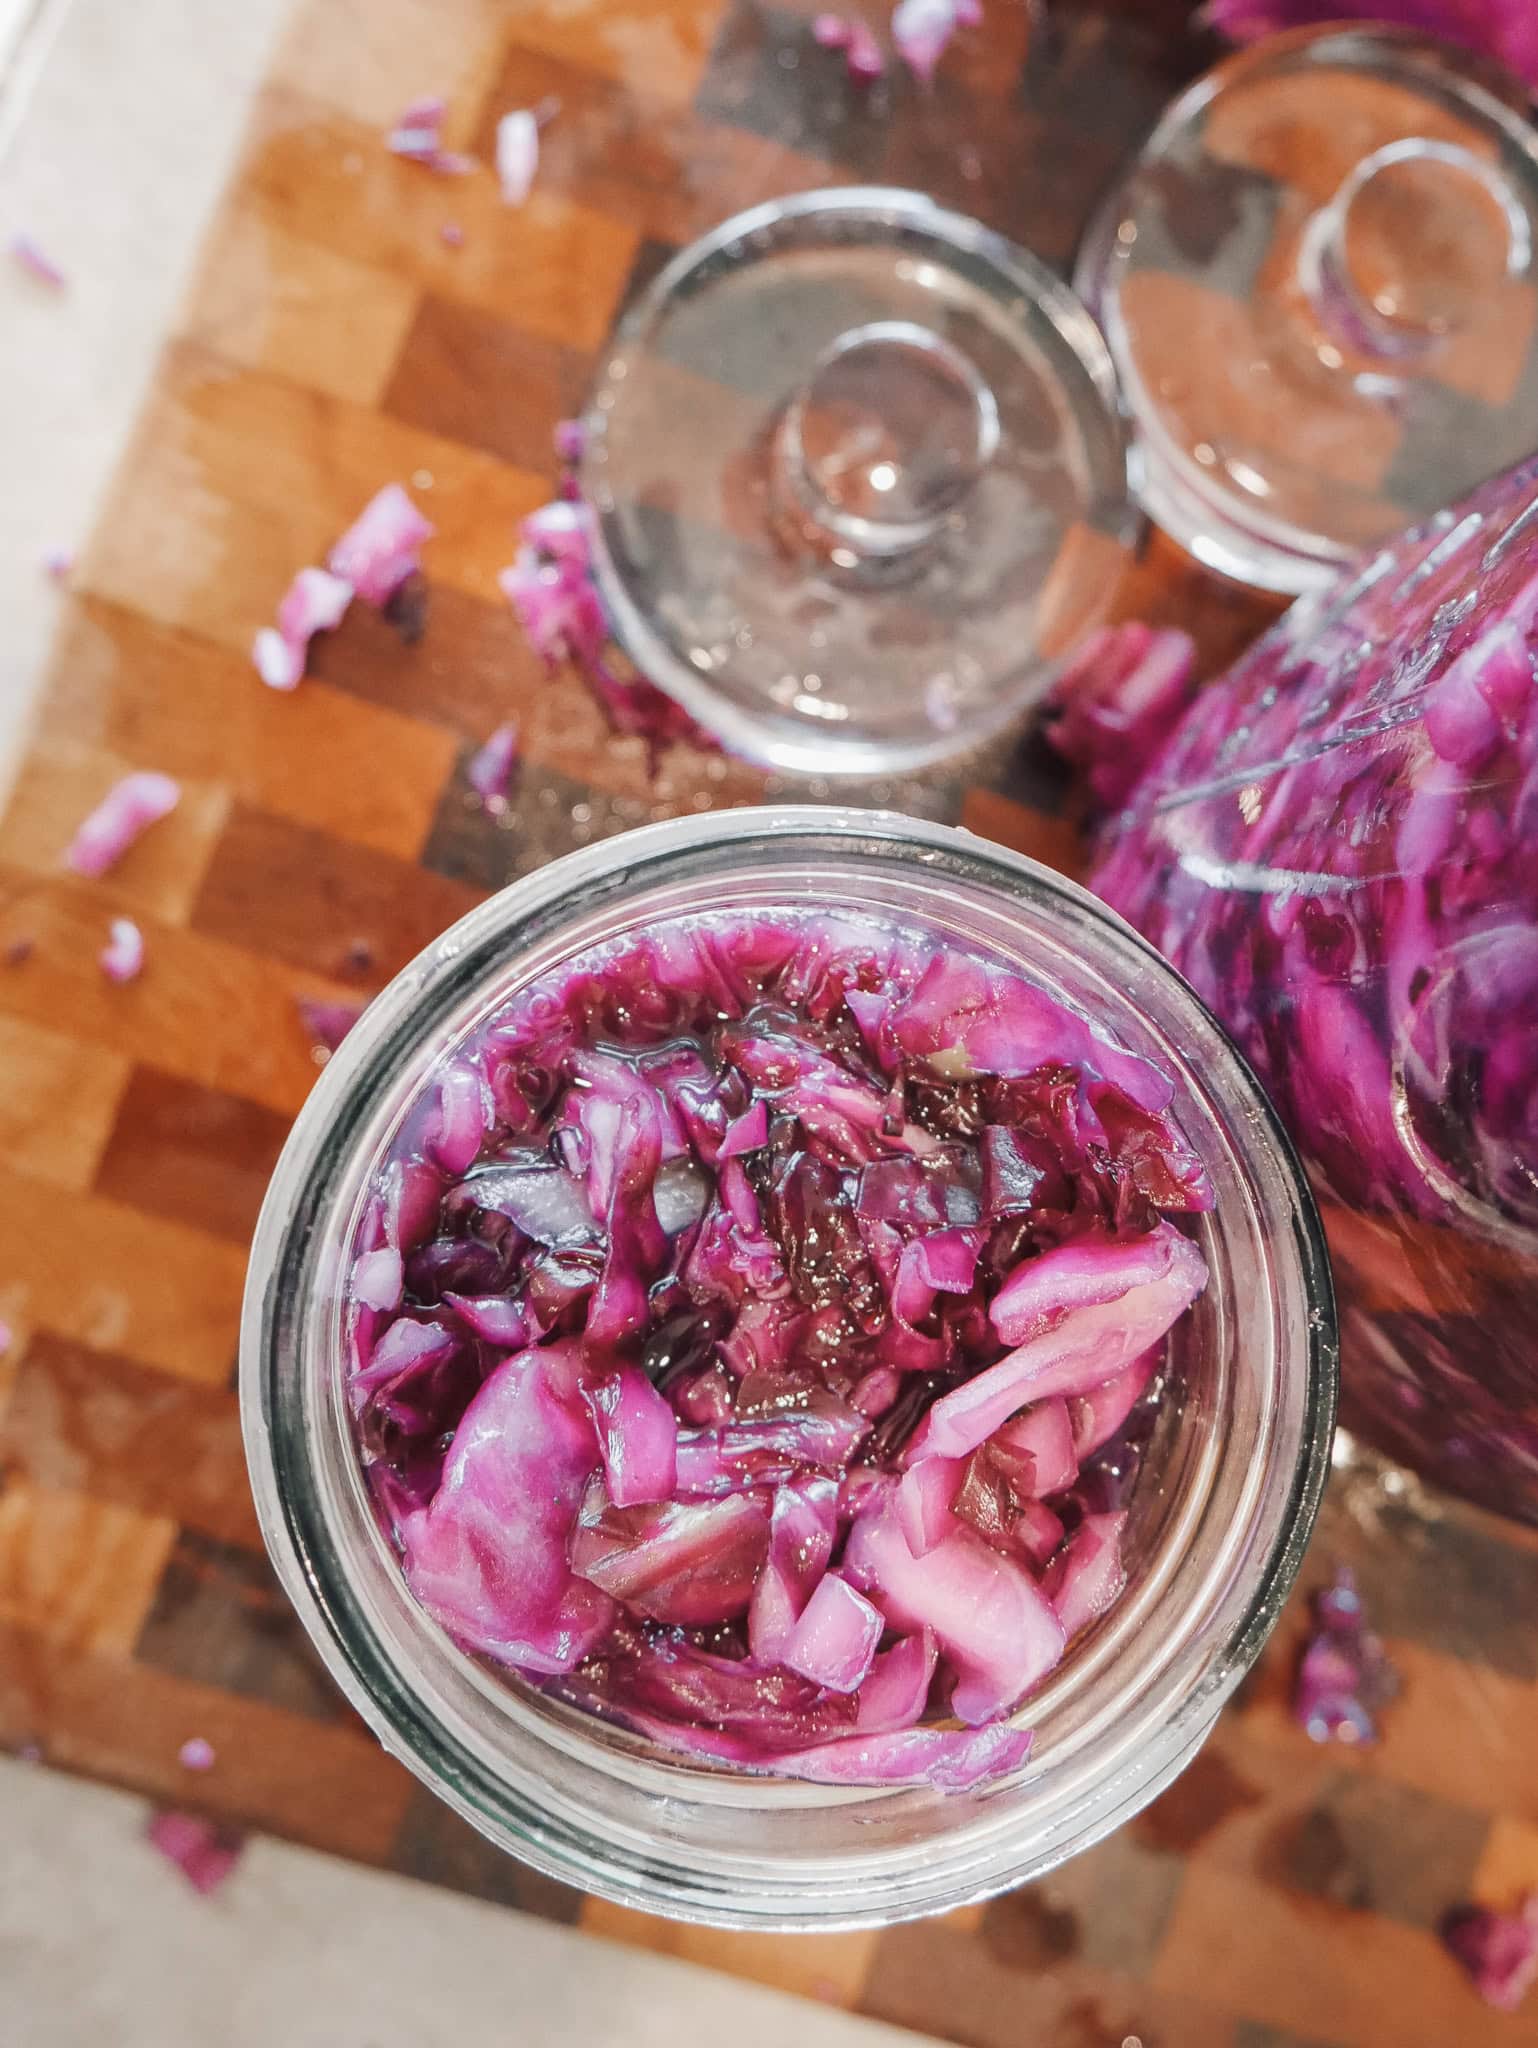
- Step 6: Pour any remaining brine into the jar. The cabbage should be completely submerged beneath the liquid. Place one of the reserved cabbage leaves over the top of the cabbage before adding a fermentation weight to keep everything below the brine.
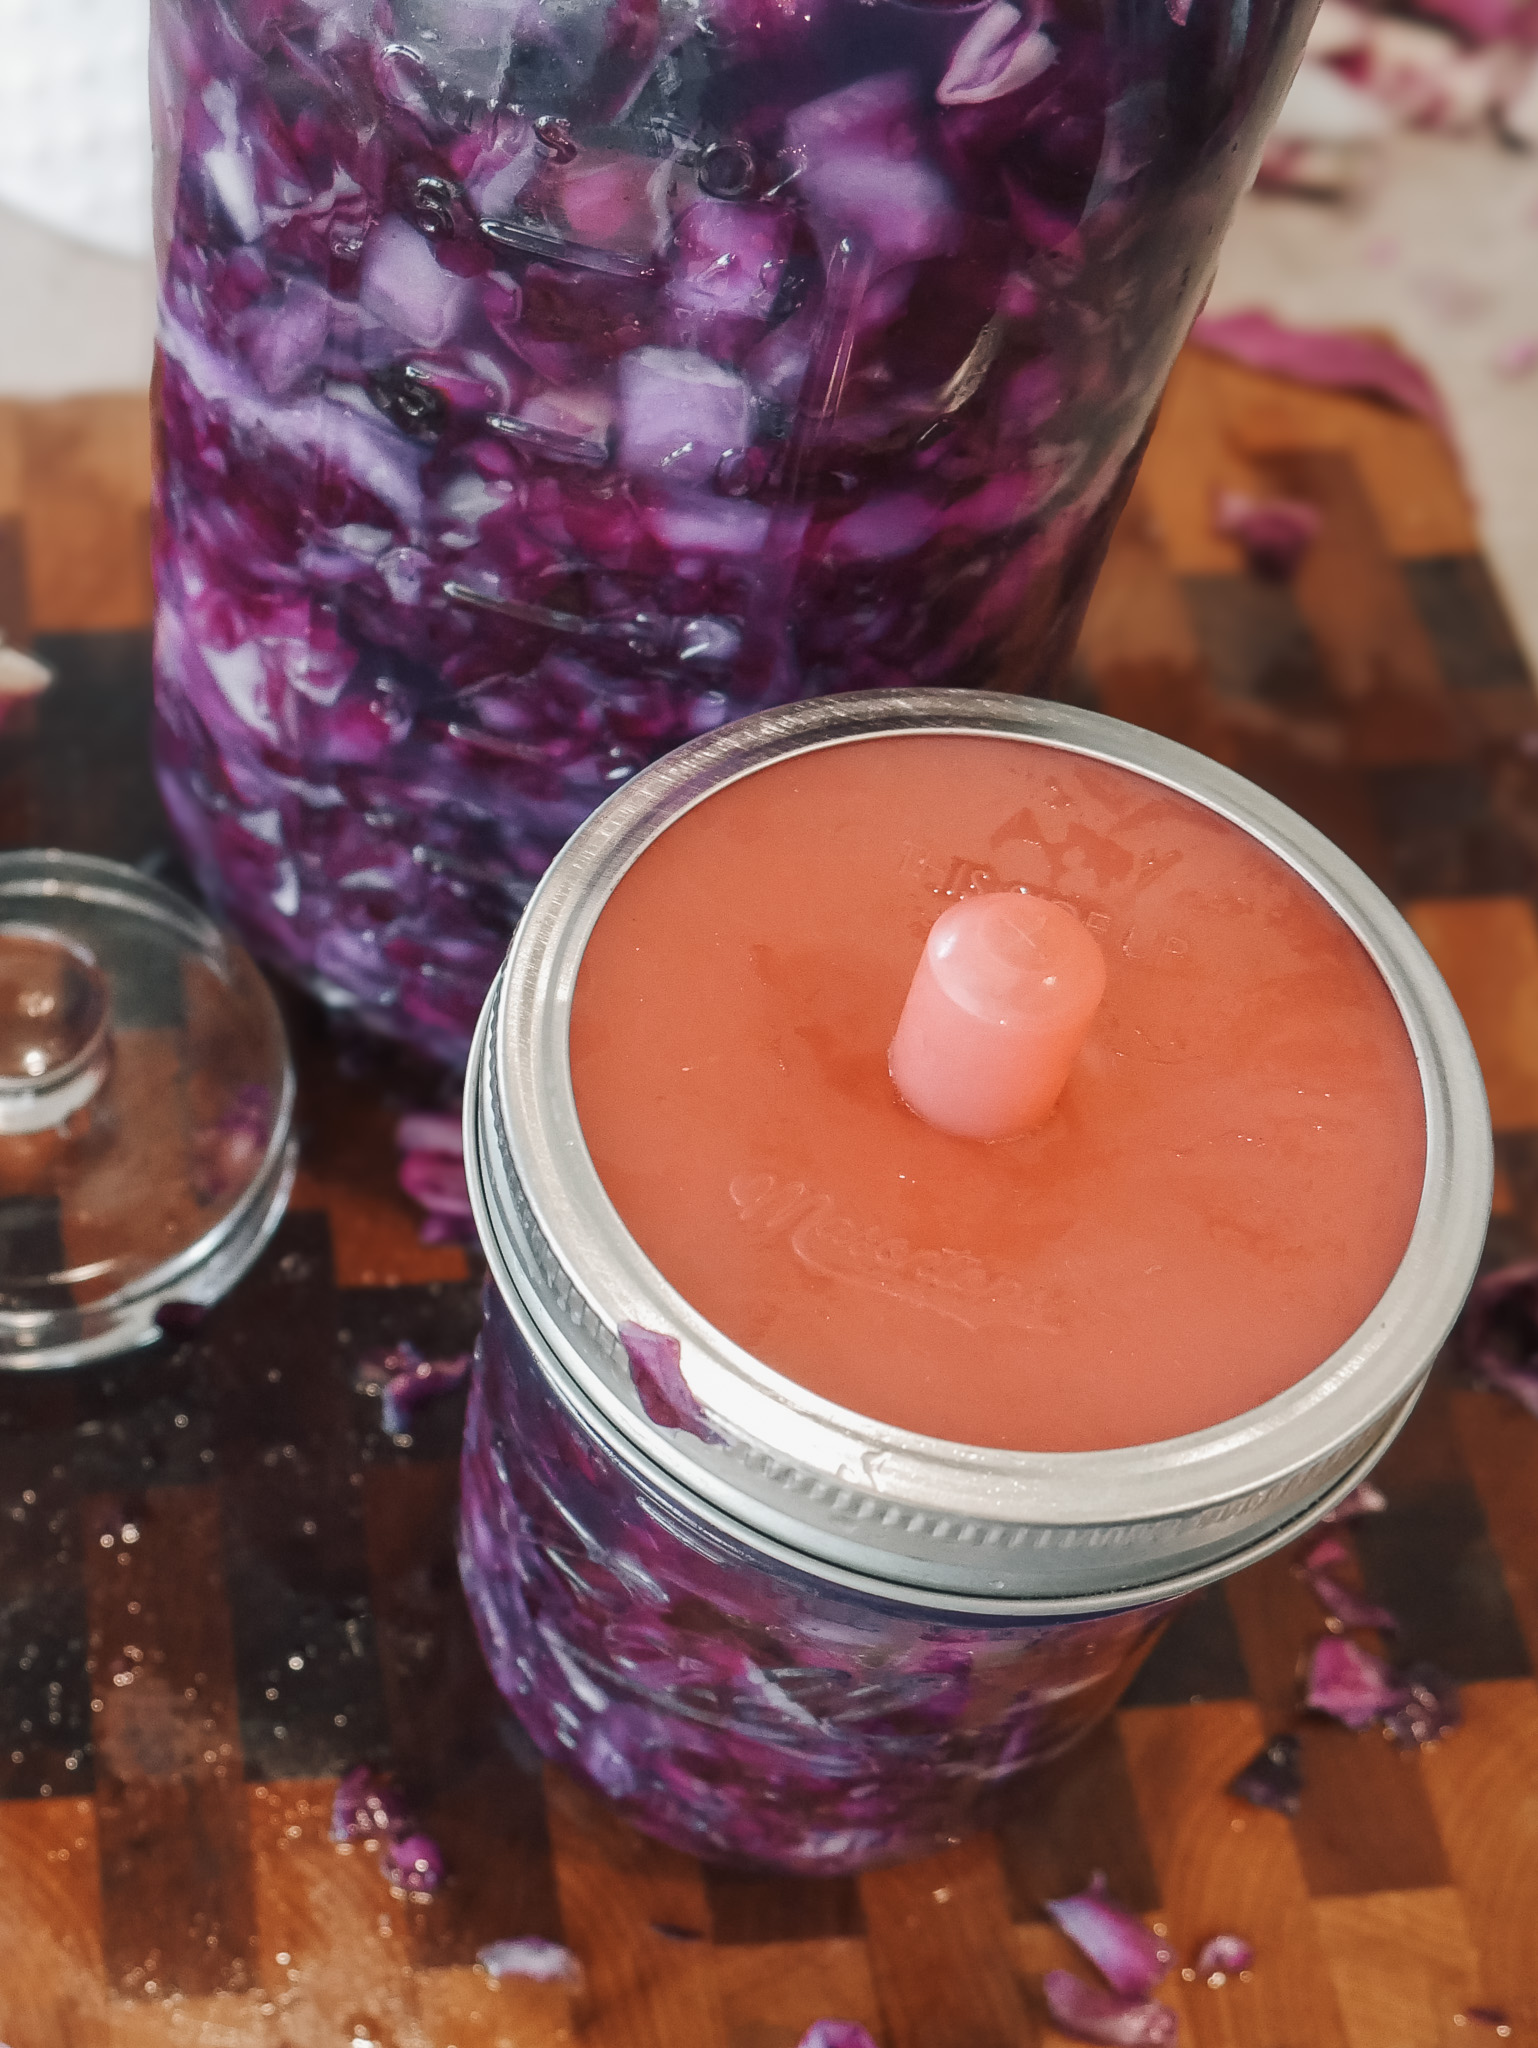
- Step 7: Leave about an inch of space at the top of the jar, then loosely attach the lid or use a fermentation lid if you have one.
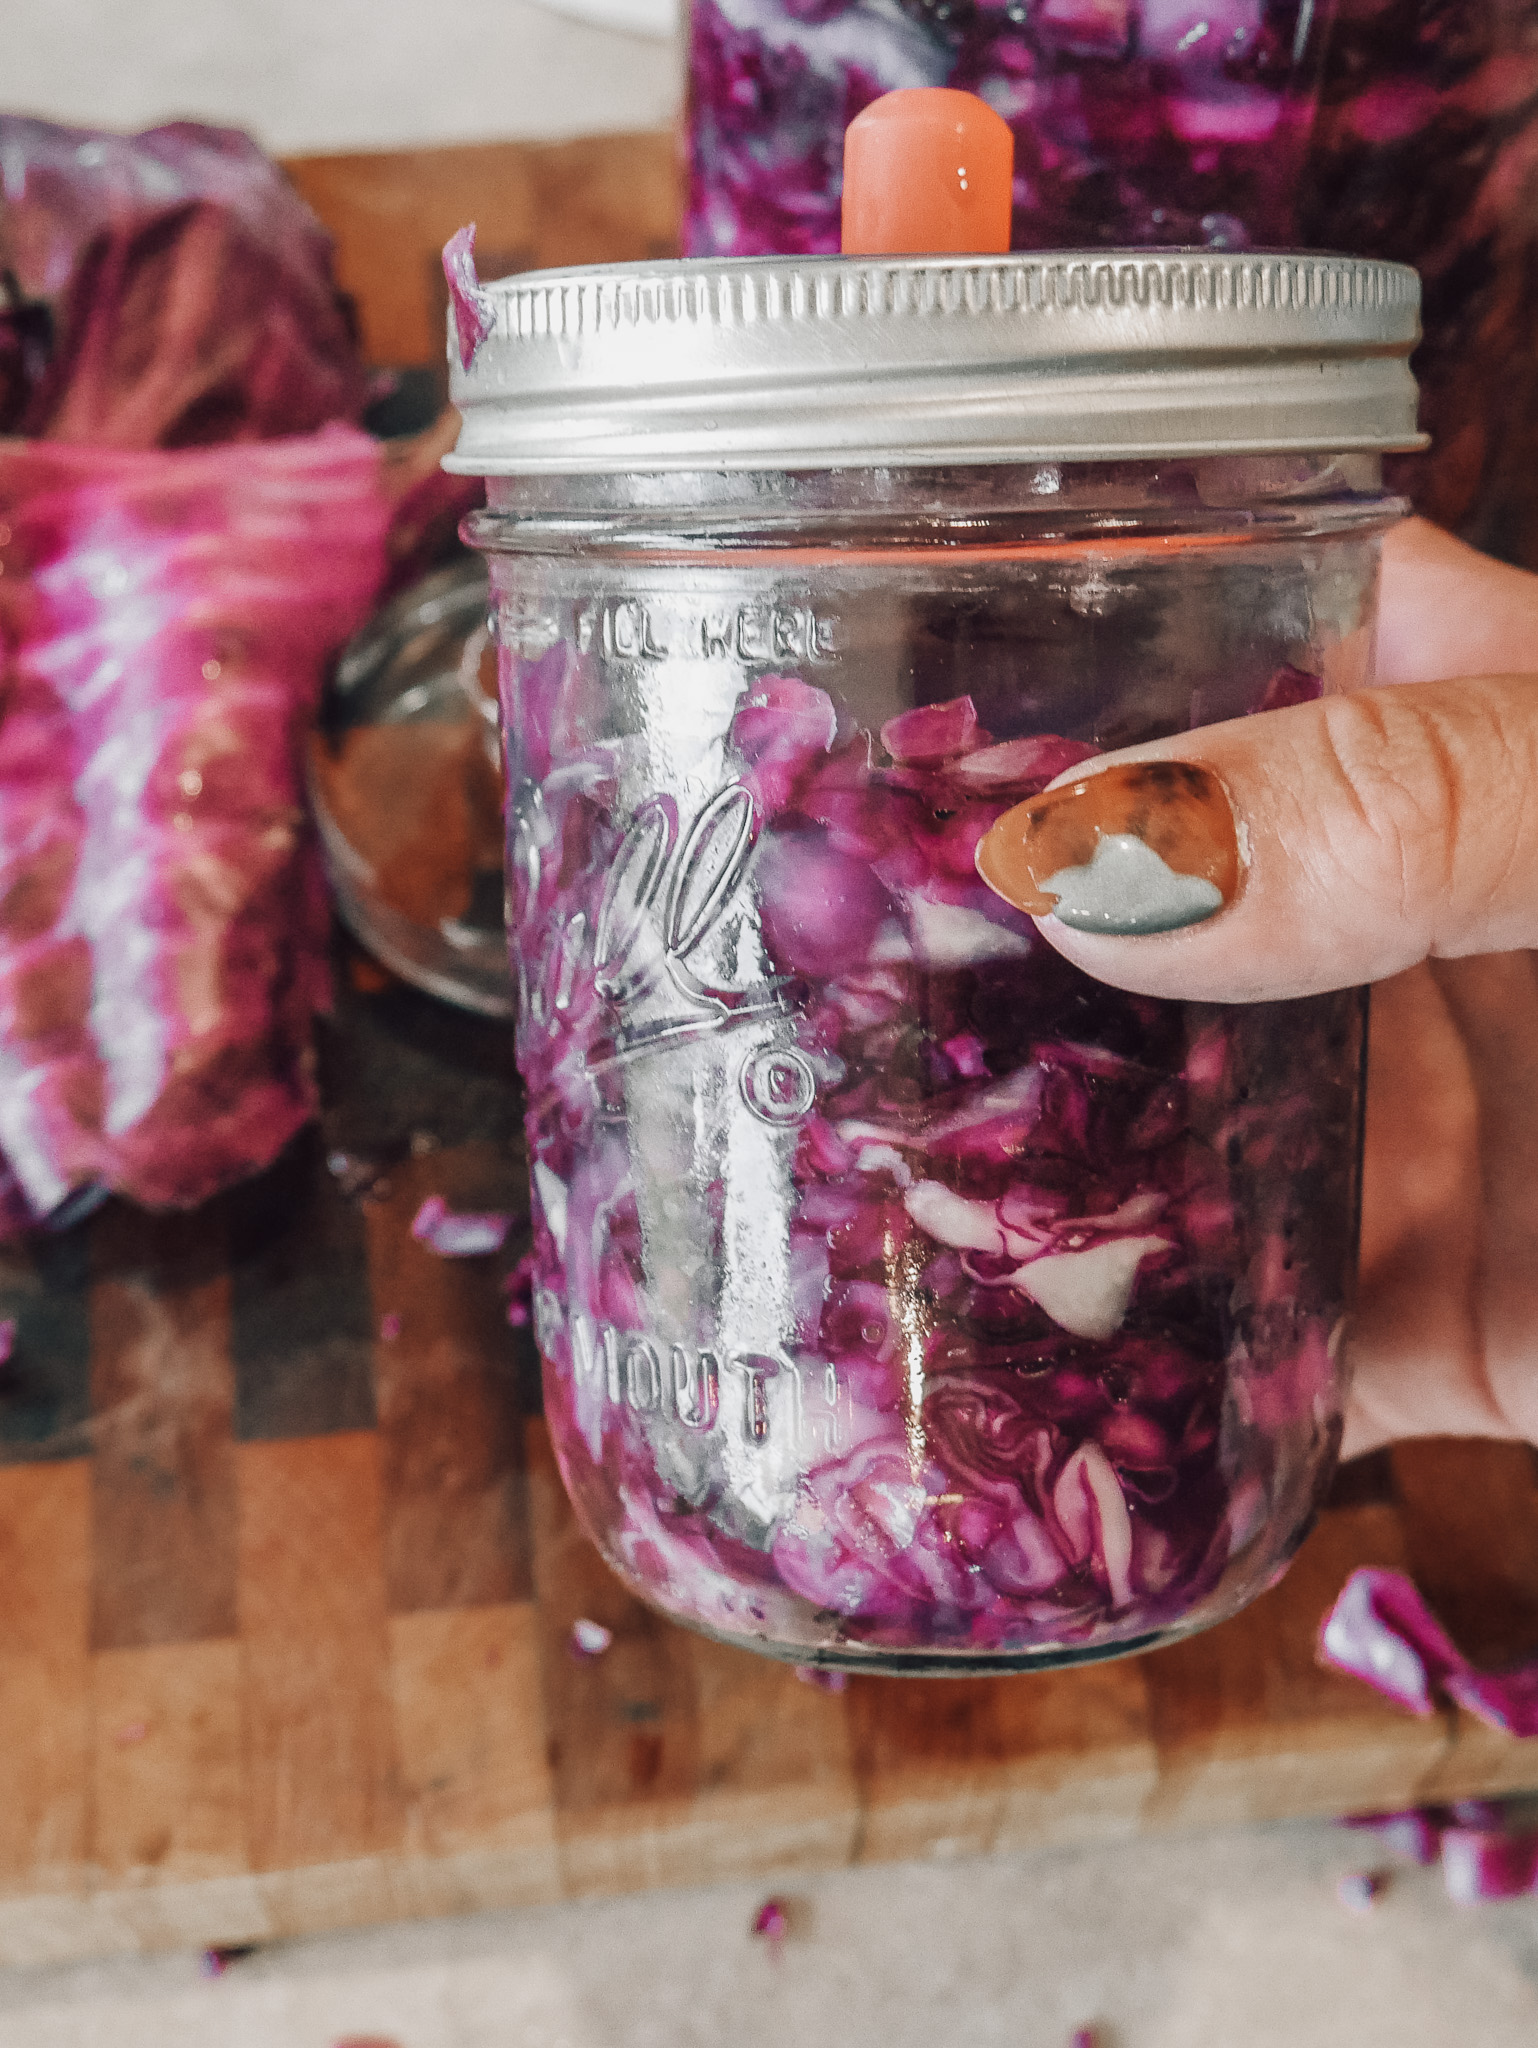
- Step 8: Place the jar somewhere out of direct sunlight at room temperature for 1–3 weeks. During this time, you'll notice bubbles forming as carbon dioxide is released. This is a normal sign that fermentation is taking place.
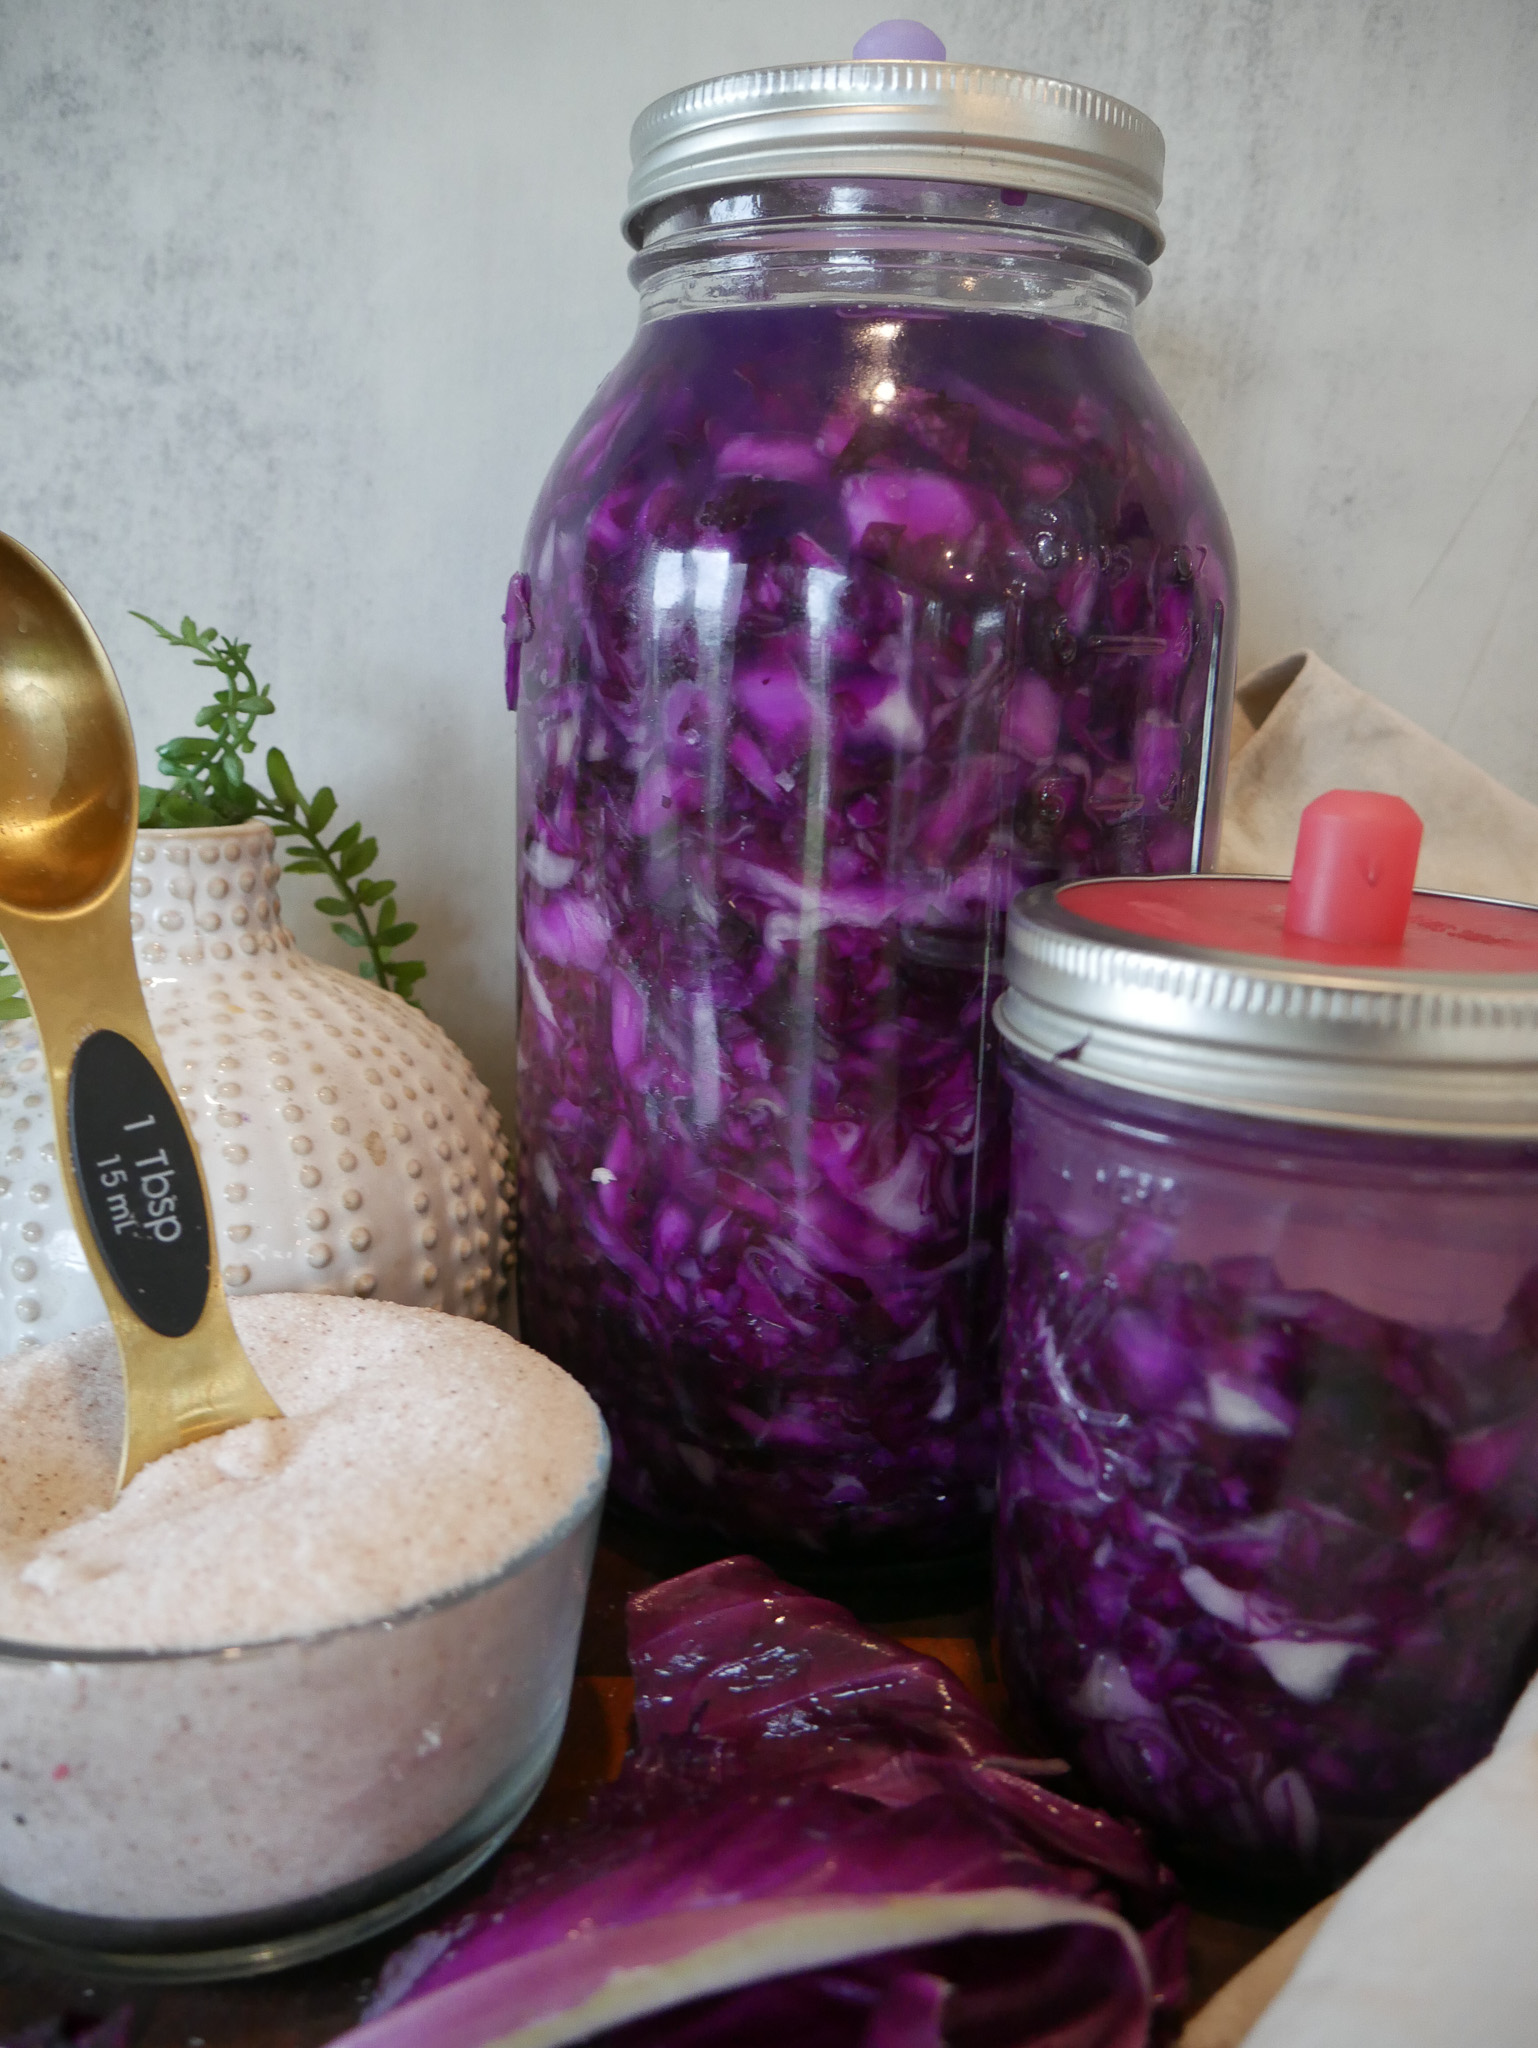
- Step 9: Begin tasting after about one week. Once it reaches a flavor you enjoy, remove the fermentation weight, seal the jar, and transfer it to the refrigerator.
One of the beautiful things about homemade sauerkraut is that every batch develops its own unique flavor. The longer it ferments, the tangier it becomes.
Hint: A knife works perfectly, but a food processor can make the job much faster if you're making a larger batch.
Substitutions
One of my favorite things about this recipe is how forgiving it is. While I'm using purple cabbage in these photos because I love the beautiful color, you can absolutely substitute green cabbage. The fermentation process is the same, and you'll end up with a delicious, tangy sauerkraut either way.
If you don't have Redmond Real Salt, any high-quality sea salt without additives will work. Just avoid iodized table salt, as it can interfere with the natural fermentation process and the growth of the beneficial bacteria we're trying to encourage.
Variations
Once you've mastered this classic version, it's fun to experiment with different flavors. Here are a few of my favorite additions:
- Caraway seeds for a traditional German-inspired flavor.
- Fresh garlic cloves for extra depth.
- Shredded carrots for a touch of sweetness.
- Thinly sliced apples for a subtle fruity flavor.
- Juniper berries or fresh dill for something a little different.
No matter what you add, keep the same salt-to-cabbage ratio so your sauerkraut ferments properly.)
Equipment
You don't need fancy equipment to make homemade sauerkraut. In fact, you probably already have everything you need.
You can find all our kitchen favorites at our Amazon storefront and Like to Know shop.
- Large mixing bowl
- Sharp knife or food processor
- Cutting board
- Wide-mouth mason jar or other glass jar
- Fermentation weight
- Fermentation lid (optional but helpful)
A fermentation lid makes the process a little easier by allowing gases to escape while keeping oxygen out, but a regular mason jar lid works just fine if you remember to loosen it occasionally during fermentation.
How Much Salt Should I Use?
If you've spent any time reading about fermentation, you've probably heard that the traditional recommendation is to use 2% salt by the weight of your cabbage. This is the gold standard because it creates the ideal environment for the beneficial bacteria to thrive while discouraging unwanted bacteria.
If you enjoy precision—or you're making large batches—a digital kitchen scale is a wonderful tool.
But let's be honest. In a busy household, I don't always have time to weigh every head of cabbage before dinner, homeschooling, or chasing little ones around the house. Most days I simply need a good rule of thumb that I know will work.
Here are the general guidelines I use:
By Jar Size
- Pint Jar: About 1½ tablespoons salt
- Quart Jar: About 2 tablespoons salt
- Half-Gallon Jar: About 3 tablespoons salt
For the batch pictured in this recipe, I filled a half-gallon mason jar using 3 tablespoons of salt, and it fermented beautifully.
By Number of Cabbage Heads
Since every cabbage is a little different, these measurements are only estimates:
- 1 medium head of cabbage (about 2–3 pounds): 1–1½ tablespoons salt
- 2 medium heads (about 4–5 pounds): 2–3 tablespoons salt
- 3 medium heads (about 6–8 pounds): 3–4½ tablespoons salt
The exact amount isn't nearly as intimidating as it sounds. If you're using fresh cabbage and enough salt to draw out plenty of natural brine, you're well on your way to successful sauerkraut.
My favorite choice is Redmond Real Salt because it's an unrefined mineral salt without additives or anti-caking agents, making it an excellent option for fermenting vegetables. Whatever salt you choose, avoid iodized table salt, as it can interfere with the natural fermentation process.

Storage
Once your sauerkraut has reached the flavor you enjoy, remove the fermentation weight, seal the jar tightly, and store it in the refrigerator.
The cool temperature slows the fermentation dramatically while preserving all of those naturally occurring probiotics. Homemade sauerkraut will continue developing flavor very slowly in the refrigerator and often tastes even better after another week or two.
As long as the sauerkraut remains submerged beneath the brine and is stored properly, it can last for several months in the refrigerator.
Top Tip
The biggest key to successful sauerkraut is making sure your cabbage stays completely beneath the brine throughout the entire fermentation process.
If pieces of cabbage float above the liquid, they're exposed to air, which increases the chance of mold forming. That's why I like placing one of the reserved cabbage leaves over the shredded cabbage before adding a fermentation weight. It's a simple little trick that helps keep everything submerged and gives the naturally occurring lactic acid bacteria the perfect environment to thrive.
Also, don't panic if you notice bubbles! As the cabbage ferments, carbon dioxide is produced. Seeing bubbles is usually a great sign that everything is working exactly as it should.
FAQ
Why is my sauerkraut bubbling?
Bubbles are a completely normal part of the fermentation process. As the beneficial bacteria consume the natural sugars in the cabbage, they release carbon dioxide. Bubbling is one of the easiest ways to tell that your sauerkraut is fermenting successfully.
How long should I ferment sauerkraut?
That depends on your personal taste and the temperature of your home. Most batches are ready after 1 to 3 weeks at room temperature. A shorter fermentation gives a milder flavor, while a longer fermentation creates a tangier sauerkraut.
Can I use green cabbage instead of purple cabbage?
Absolutely! Green cabbage is the traditional choice, but purple cabbage works just as well. It creates a gorgeous jewel-toned sauerkraut while offering the same satisfying crunch and delicious flavor.
What if my cabbage doesn't produce enough brine?
Sometimes older cabbage can be a little drier. Massage it for a few extra minutes before giving up. If needed, you can add a small amount of salt water made with non-iodized salt, but most fresh cabbage will create plenty of its own brine.
How do I know if my sauerkraut has gone bad?
A pleasantly sour smell is exactly what you want. If you notice fuzzy mold, an unpleasant rotten smell, or slimy cabbage, it's best to discard the batch and start fresh. Fortunately, when the cabbage stays below the brine, spoilage is uncommon.
Related
Looking for other recipes like this? Try these:


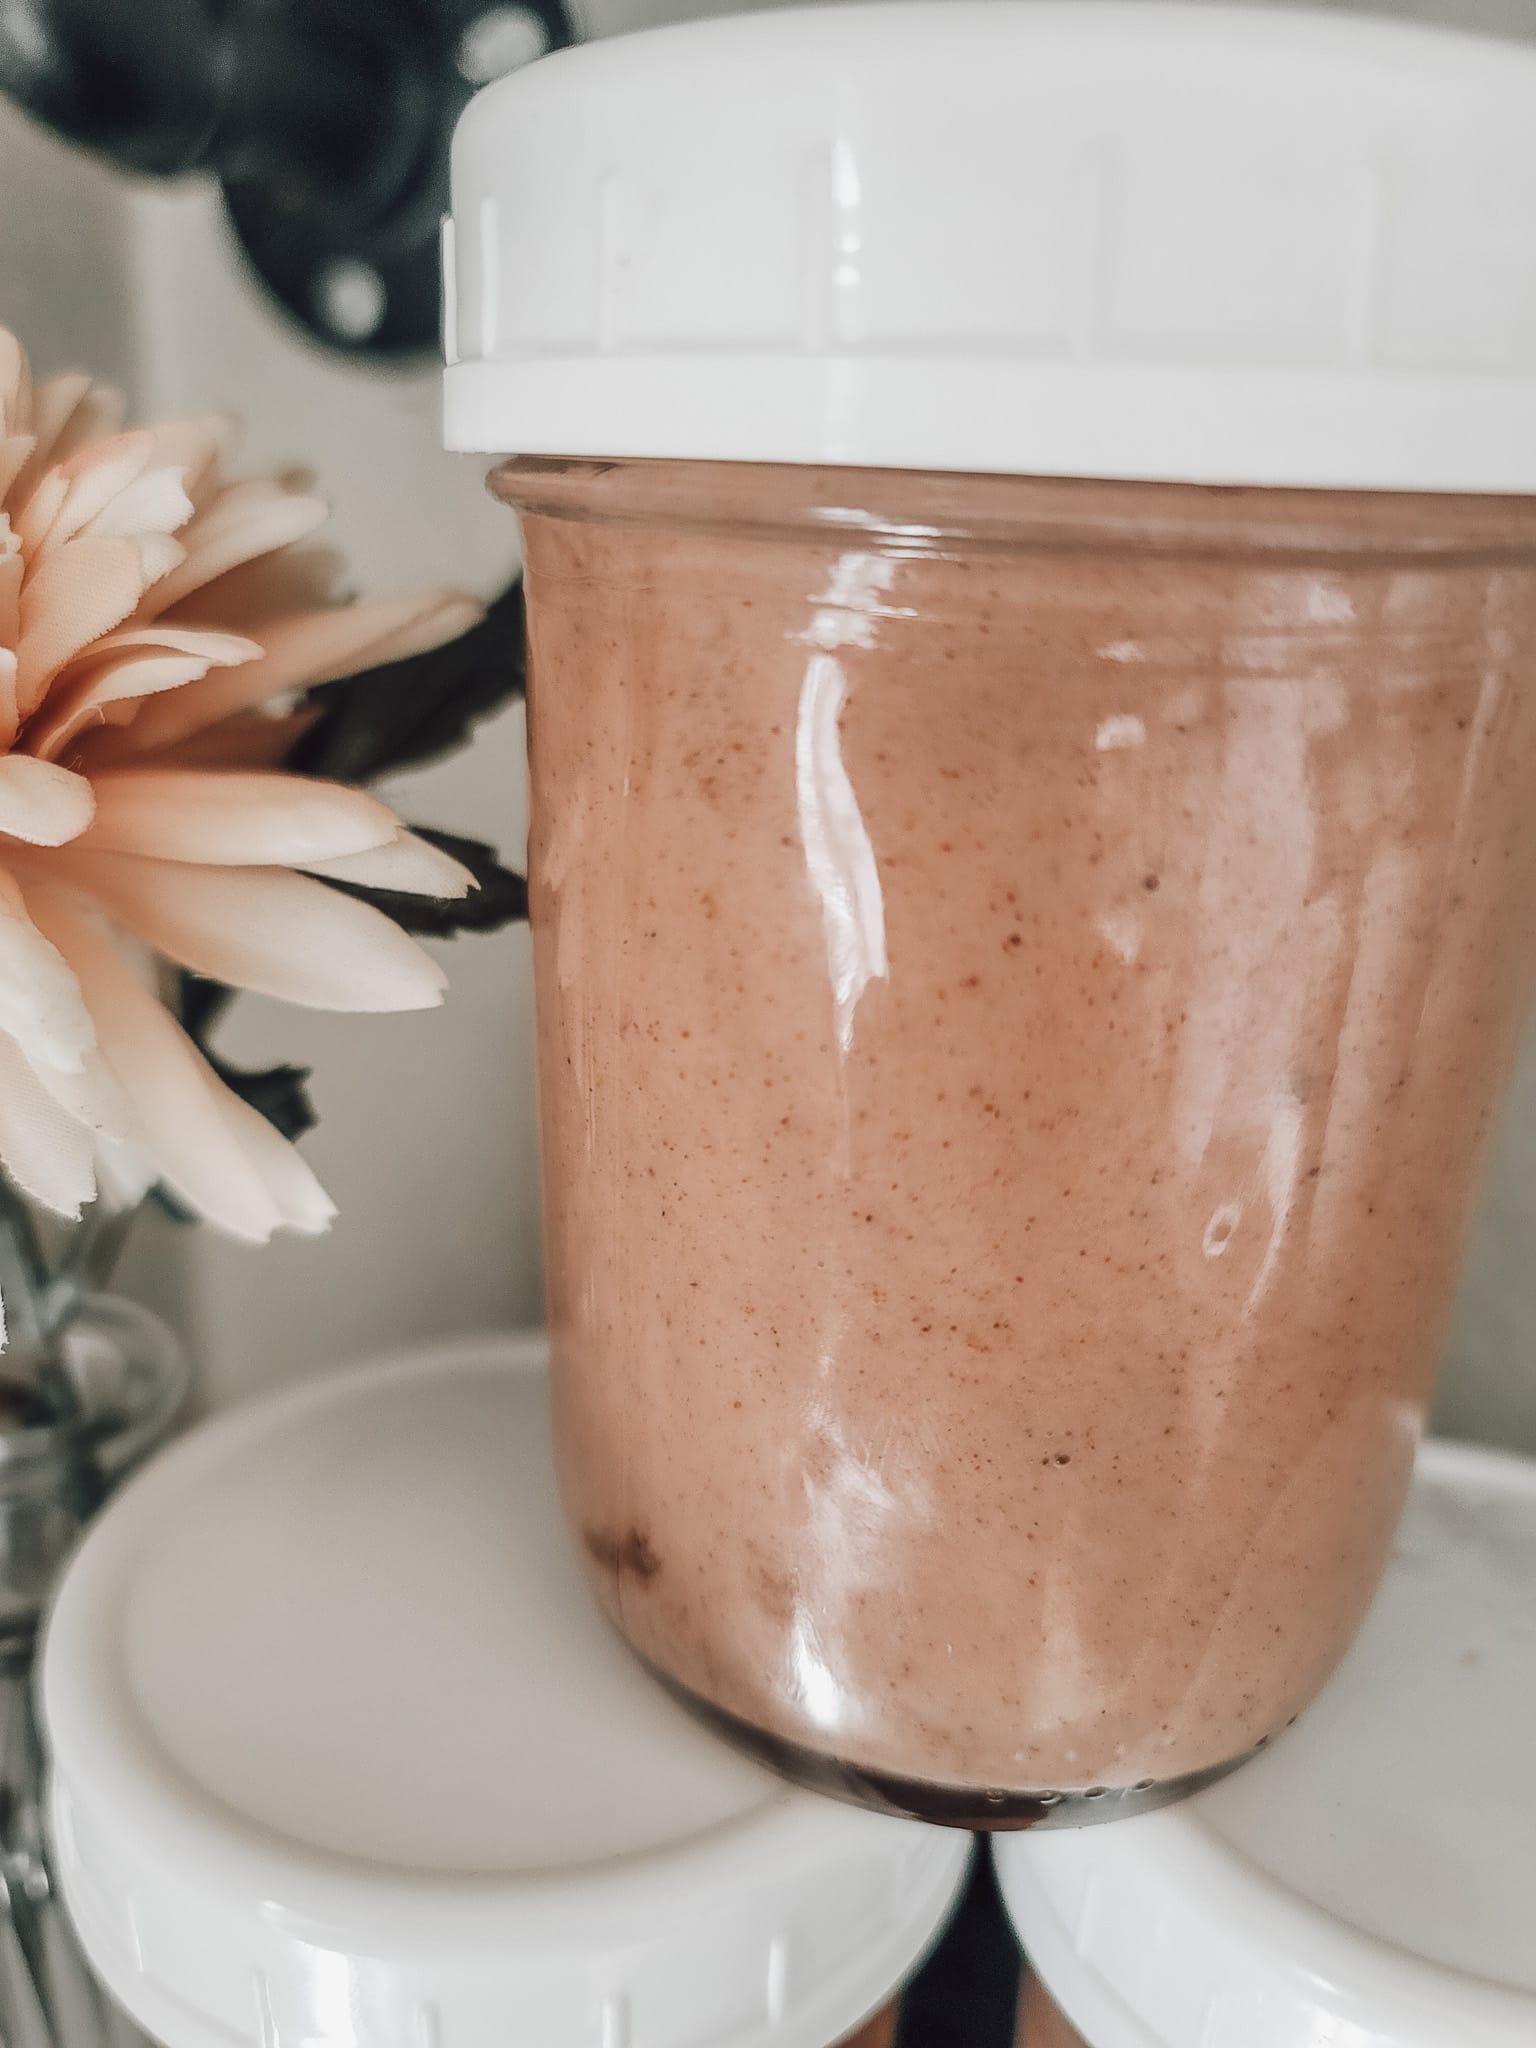
Making your own classic lacto-fermented sauerkraut is one of the simplest ways to preserve fresh cabbage while adding more nourishing, probiotic-rich foods to your family's table. With only two ingredients and a little patience, you'll have a flavorful condiment that's packed with naturally occurring beneficial bacteria and pairs well with everything from sandwiches and grain bowls to roasted meats.
Whether you choose vibrant purple cabbage like I did or stick with traditional green cabbage, don't be intimidated by the fermentation process. After your first batch, you'll quickly see just how easy homemade sauerkraut can be. I hope this recipe inspires you to give fermenting a try and discover just how rewarding it is to make this timeless pantry staple right at home.

Classic Lacto-Fermented Sauerkraut
Learn how to make classic lacto-fermented sauerkraut with just cabbage and salt. This easy probiotic recipe is packed with flavor and supports gut health.
Ingredients
- 1-2 medium purple cabbages (or green cabbage)
- 2-3 tablespoons Redmond Real Salt (or another high-quality sea salt)
Instructions
- Remove a couple of the outer leaves from the cabbage and set them aside.
- Quarter the cabbage, remove the core, and finely slice or shred it.
- Place the shredded cabbage into a large bowl and sprinkle it evenly with the salt.
- Massage the cabbage with clean hands for 5–10 minutes. As you work the salt into the cabbage, it will begin releasing its own liquid. Continue until there's enough brine to cover the cabbage once packed into the jar.
- Pack the cabbage tightly into a clean glass jar, pressing firmly after each handful. I like using wide-mouth mason jars because they're easy to fill and clean.
- Pour any remaining brine into the jar. The cabbage should be completely submerged beneath the liquid. Place one of the reserved cabbage leaves over the top of the cabbage before adding a fermentation weight to keep everything below the brine.
- Leave about an inch of space at the top of the jar, then loosely attach the lid or use a fermentation lid if you have one.
- Place the jar somewhere out of direct sunlight at room temperature for 5 days- 2 weeks. During this time, you'll notice bubbles forming as carbon dioxide is released. This is a normal sign that fermentation is taking place.
- Begin tasting after about 5 days. Once it reaches a flavor you enjoy, remove the fermentation weight, seal the jar, and transfer it to the refrigerator.
Don't Forget to Pin for Later!